In this post I look at how I kitbashed some centaurs for Warriors of Athena using some Wargames Atlantic horses.Victrix Greek Peltasts.Warlord Games ancient greek hoplites, Victrix Armoured Spartan Hoplites and some Victrix Dark Age archers.
It has been a while since I last posted but I have been managing to do the odd bit of hobbying here and there. Much of my focus has been getting stuff ready to play Warriors of Athena.
I’m not sure where I first saw someone online kit-bashing centaurs but it struck me as a great idea and I thought I’d give it a try. It felt a little ambitious with my limited kit-bash skills but I thought I’d have a go and see how it went, after all my Skeletal Hoplites weren’t a total disasster!
What I used
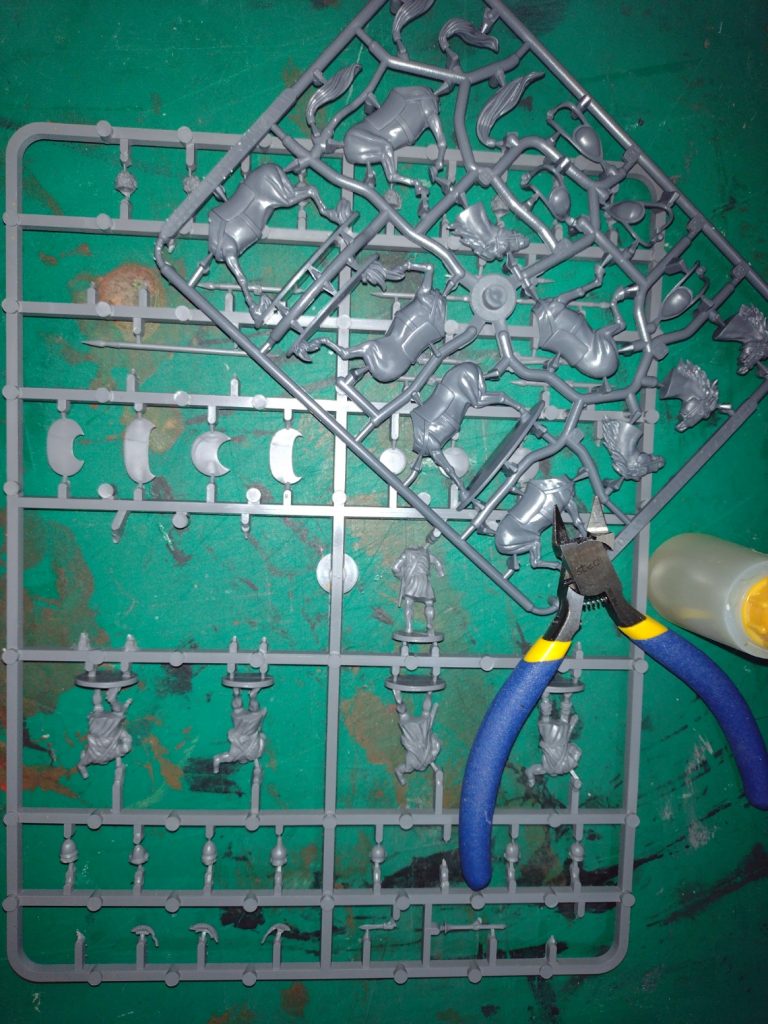
- Wargames Atlantic General Accoutrouments – Light Horses. A nice box of riderless horses.
- Victrix Greek Peltasts and Javelin men A good box of Greeks throwing stuff.
- Warlord Games ancient greek hoplites – Now called Early Greek Hoplites, loads of options for builds.
- Victrix Armoured Spartan Hoplites For the centaur leaders. Again loads of options for builds.
- Victrix Dark Age archers Nice basic archers that didn’t look too out of place.
- Milliput – two part epoxy putty. Sets reasonably hard and can be thinned with water while you work it.
- Green Stuff – two part epoxy putty that sets with a little bit of plasticity (I think that is the right word – it is a bit bendy).
- Bluestuff – a moldable thermoplastic.
- Polystyrene cement – I’m currenly using humbrol, very old humbrol. I miscalculated on how much I actually use a few years ago and bought a bunch of it. It unfortunately doesn’t last for ever!
- Sharp things – hobby knives and clippers.
For most of the above a quick search in the browser of your choice will give you loads of options of where to buy.
The Kitbash
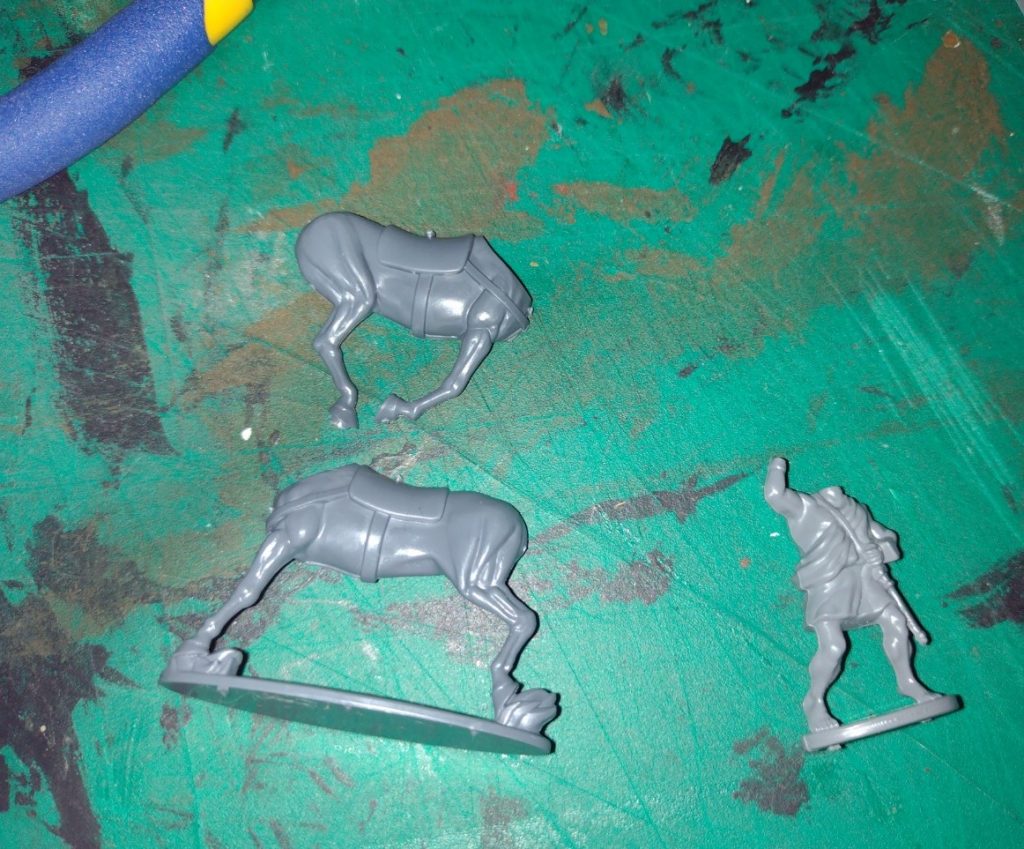
First step was to build the horse body and chop the bottom part of a greek javelin man and add the top to the horse body.
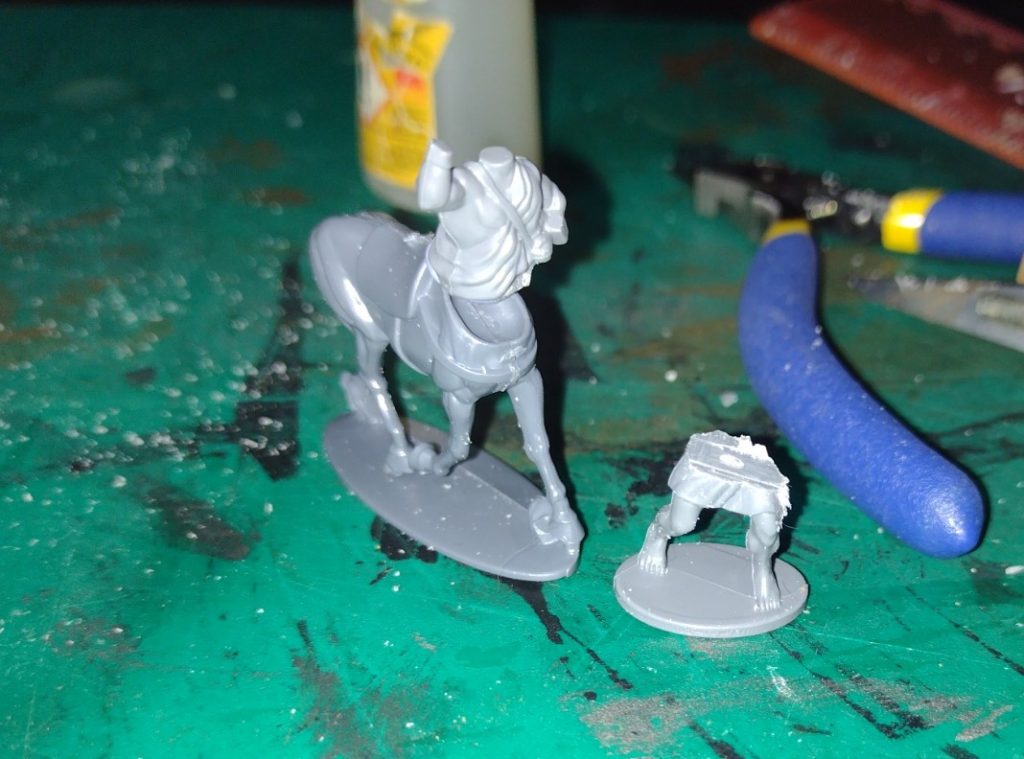
This left a sizeable gap underneath the waist of the javelin man so I filled this with trusty milliput.
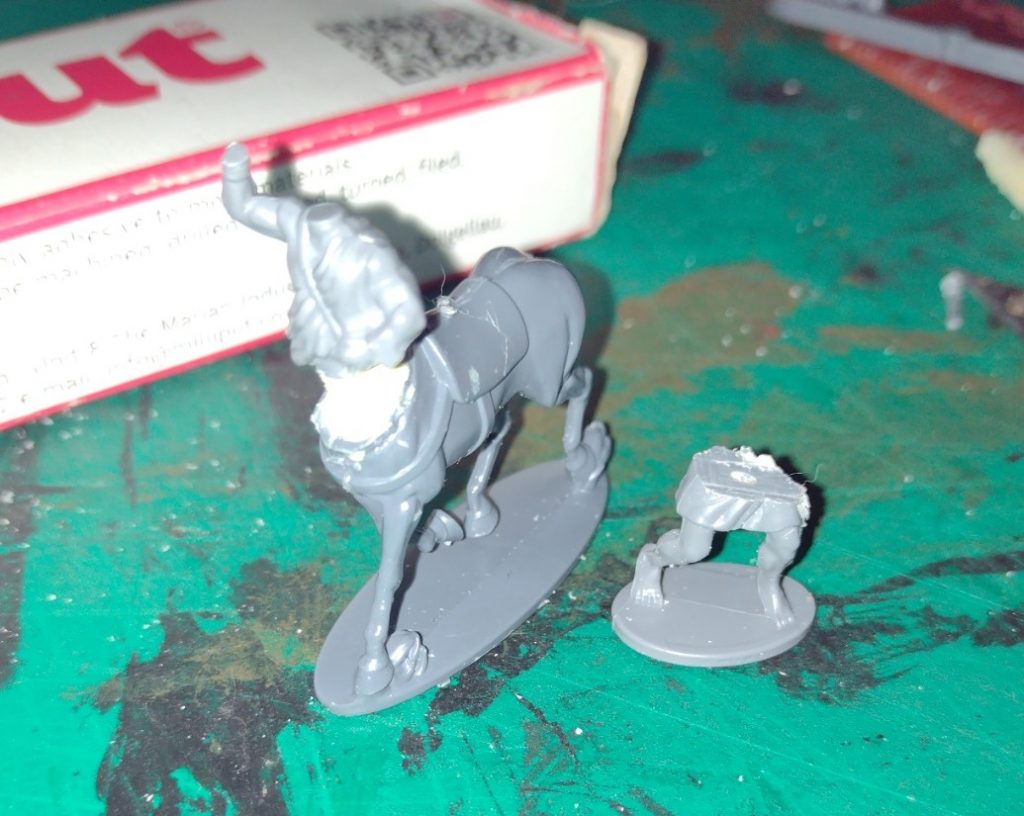
An earlier step I forgot about was cutting away the saddles and straps from the horse bodies and filling them smooth.
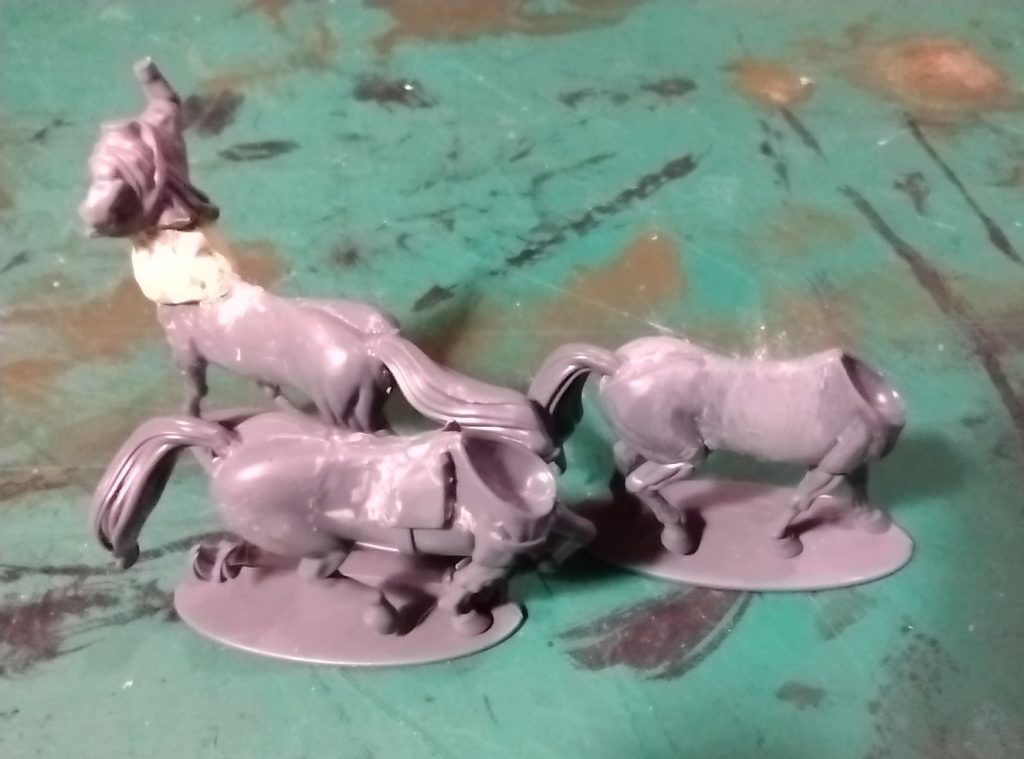
With the gap between filled, I used more milliput to sculpt the lower part of the javelin man’s tunic. I used a head from the ancient Greek hoplites and added a hand with a javelin. For on the table the Javelins can double as spears depending on the needs of the scenario.
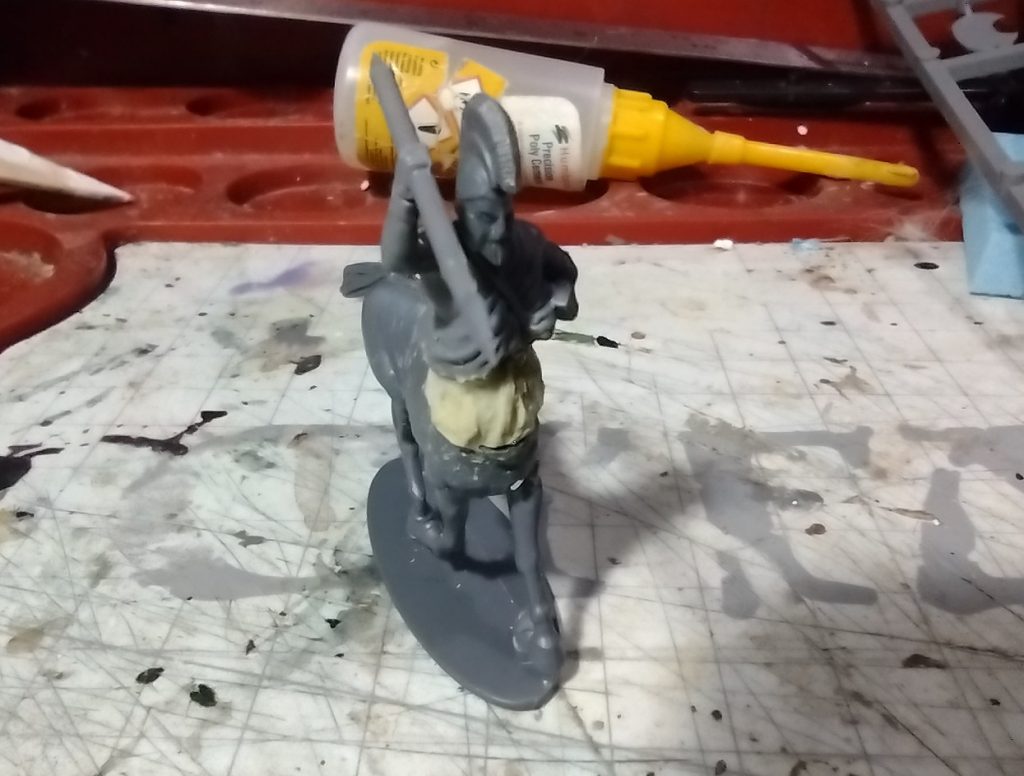
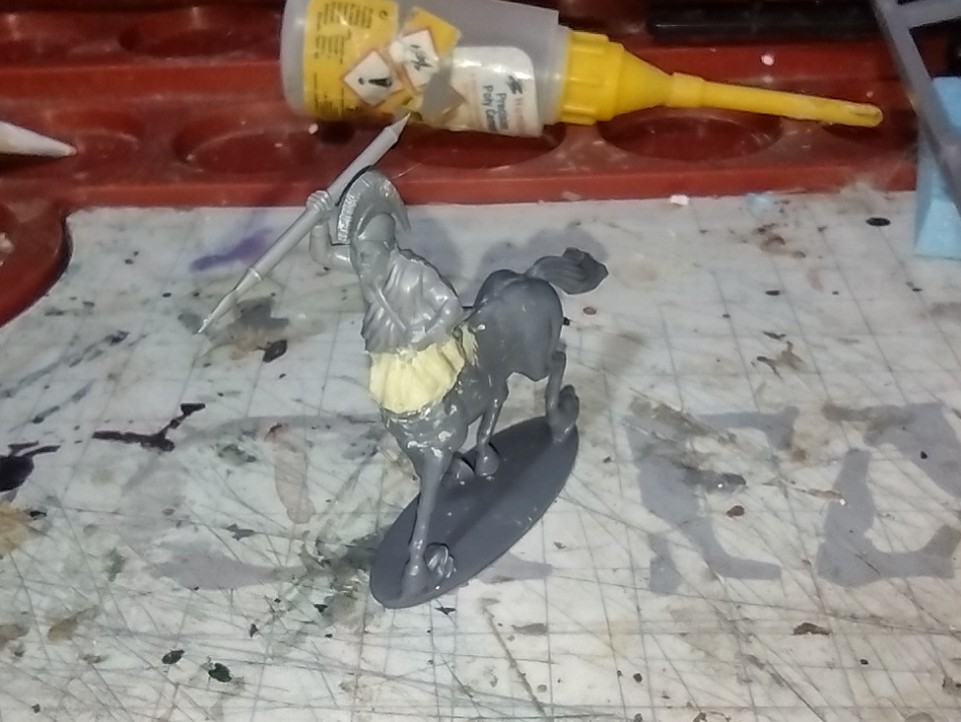
I wasn’t happy with the finished miniature (well two of them at that point actually). The body was too long and looked out of proportion so it was time to snap off the torso and start again. There was a part of the horse miniature that was added to the horse body between the head and neck, which wasn’t helping so I removed that as well.
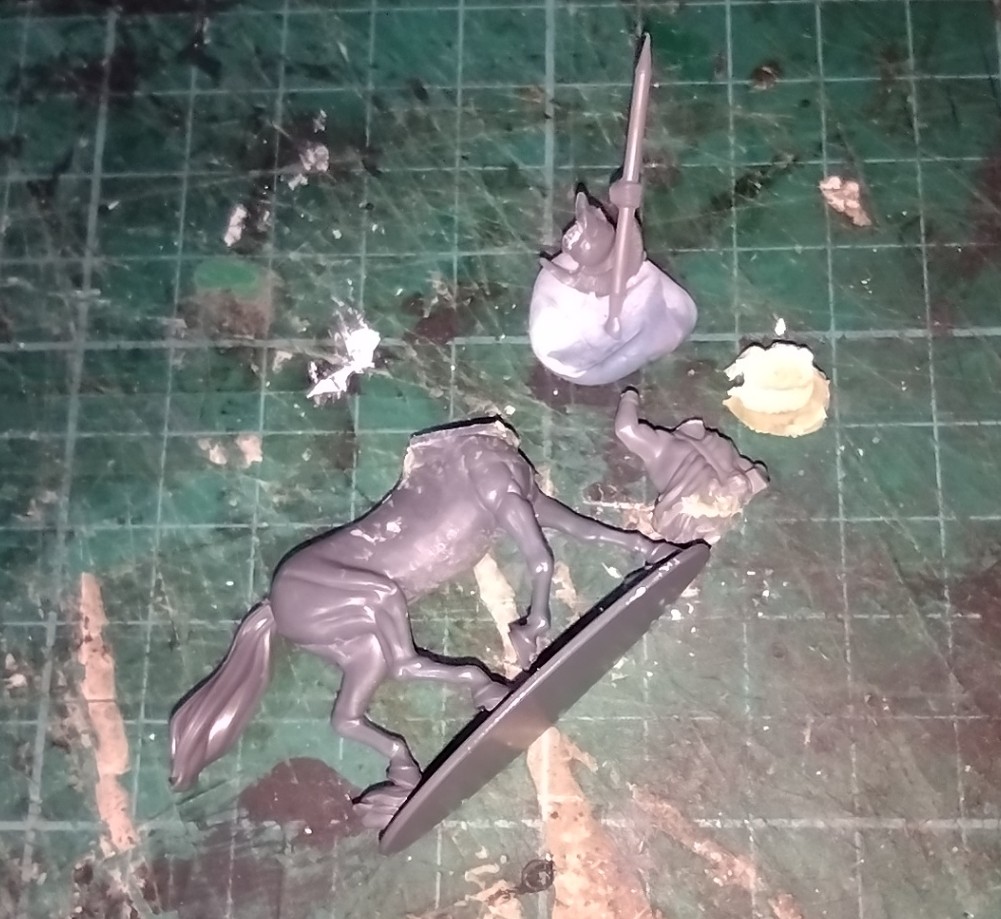
With those changes that was about it, apart from the paint.
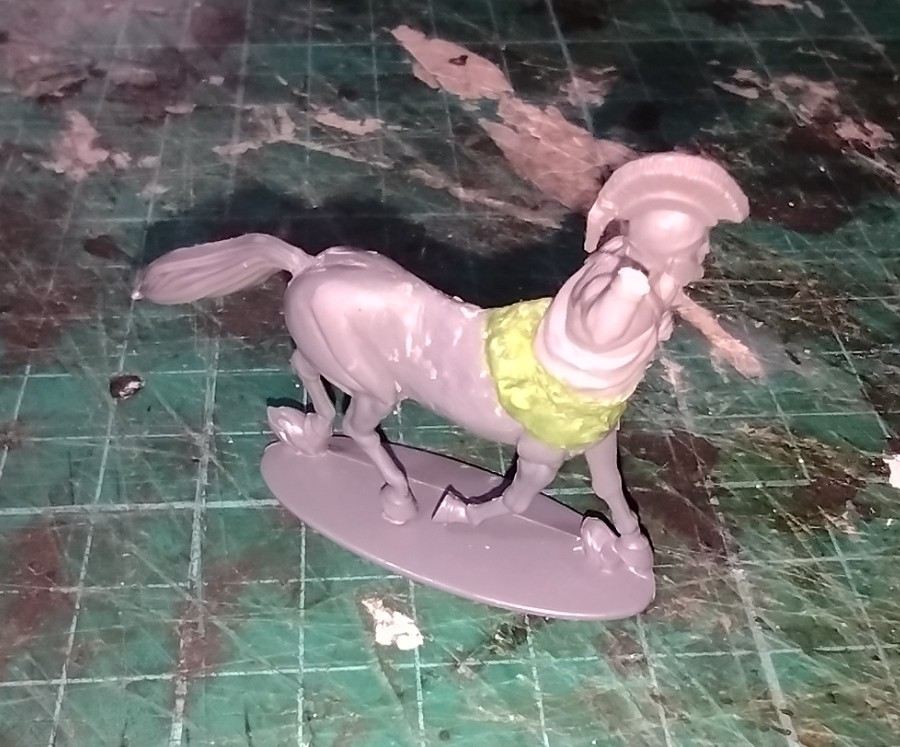
I went with mainly speed paints over a white drybrush, there are hundreds of youtube videos of Slap Chop method (I really wish someone would come up with a better name but I suppose ‘white drybrushy over darker painty sort of thing’ isn’t as catchy), so I didn’t do a step by step of the painting.
I’m always in two minds about the finish I get with speed paints. I’m not sure where I go wrong but it often looks a bit bland compared to how I see the results of Youtubers paint jobs. There are extra steps you can do of course, double slap chop, selective highlighting and probably more, but this seems like defeating the object a bit for me. I just need to find my own work-flow I suppose. I do like the results Peachy gets so I might have to re-watch his videos closer to get some tips, peachy tips! Do you see what I did there?
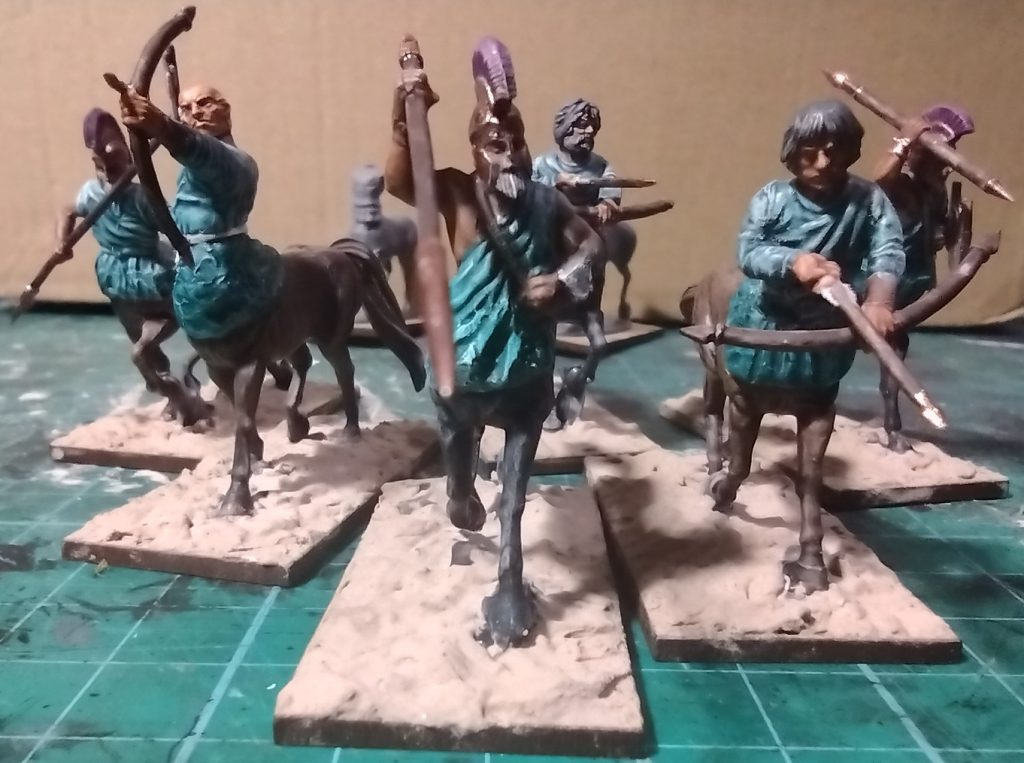
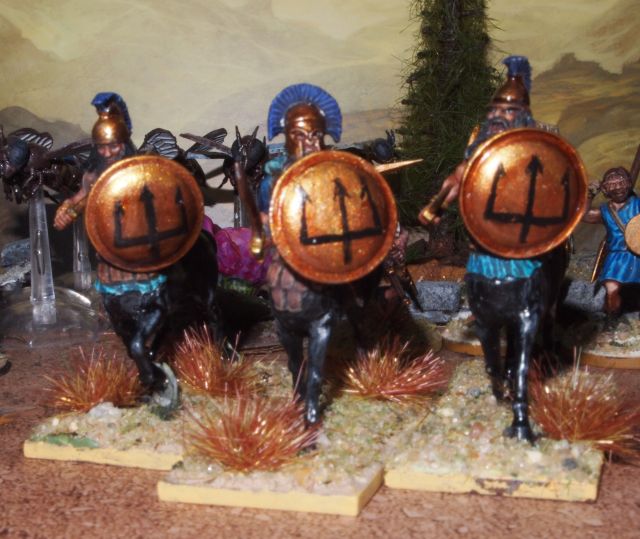
Anyway, after the three spearmen I built some archers. I went with giving them all similar colour schemes to unify them. Here is a group shot of the first six kit-bashed centaurs.
The Leaders
The Warriors of Athena Quest book also lists three leaders for the centaurs so I wanted these to look distinct from the three spearmen so used the armoured Spartan hoplites (not sure how this is pronounced. I always thought it was ’hop-lights’ but I noticed that Total War Rome goes with what sounds like ’hop-lee-tez’ – if you know, let me know in the comments).
These would require sculpting some extra layers for their armour to tie in with what they are wearing. I went with green stuff.
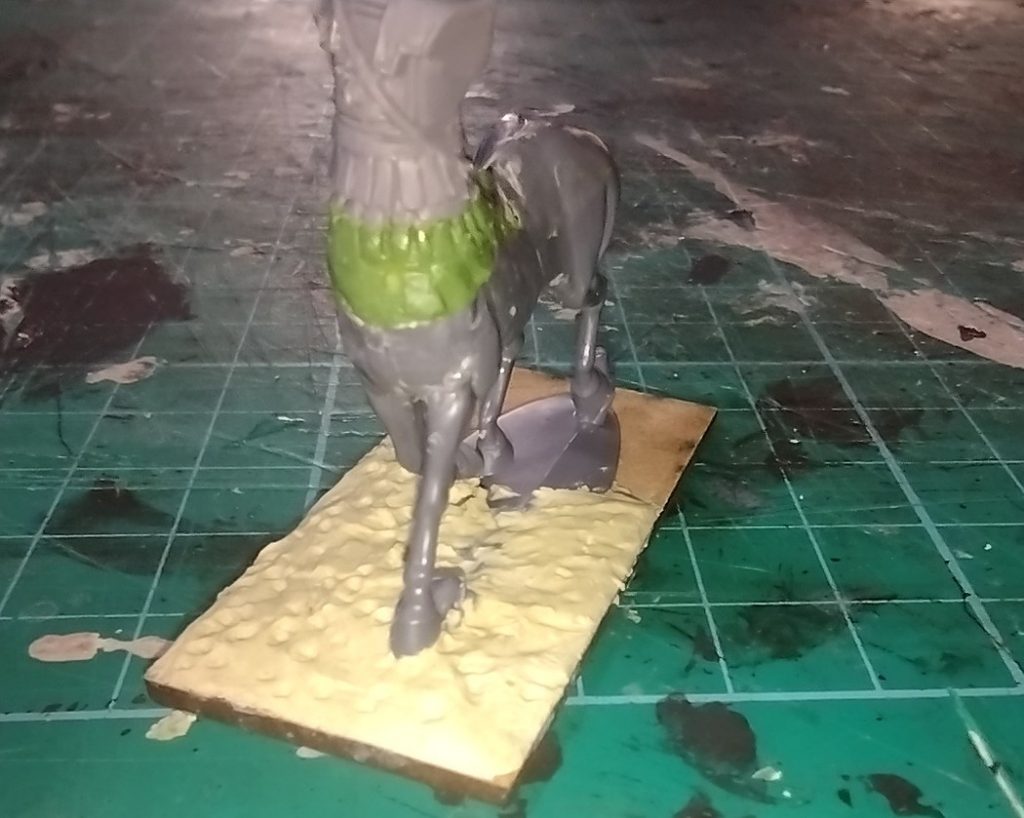
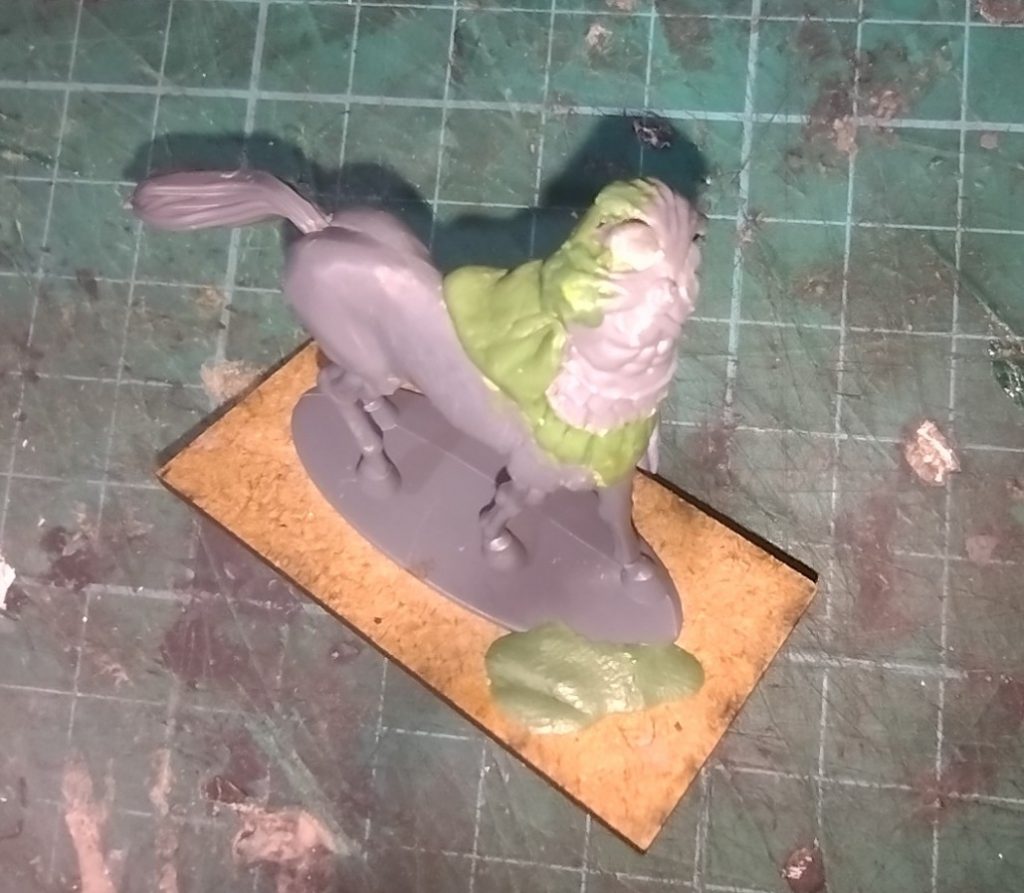
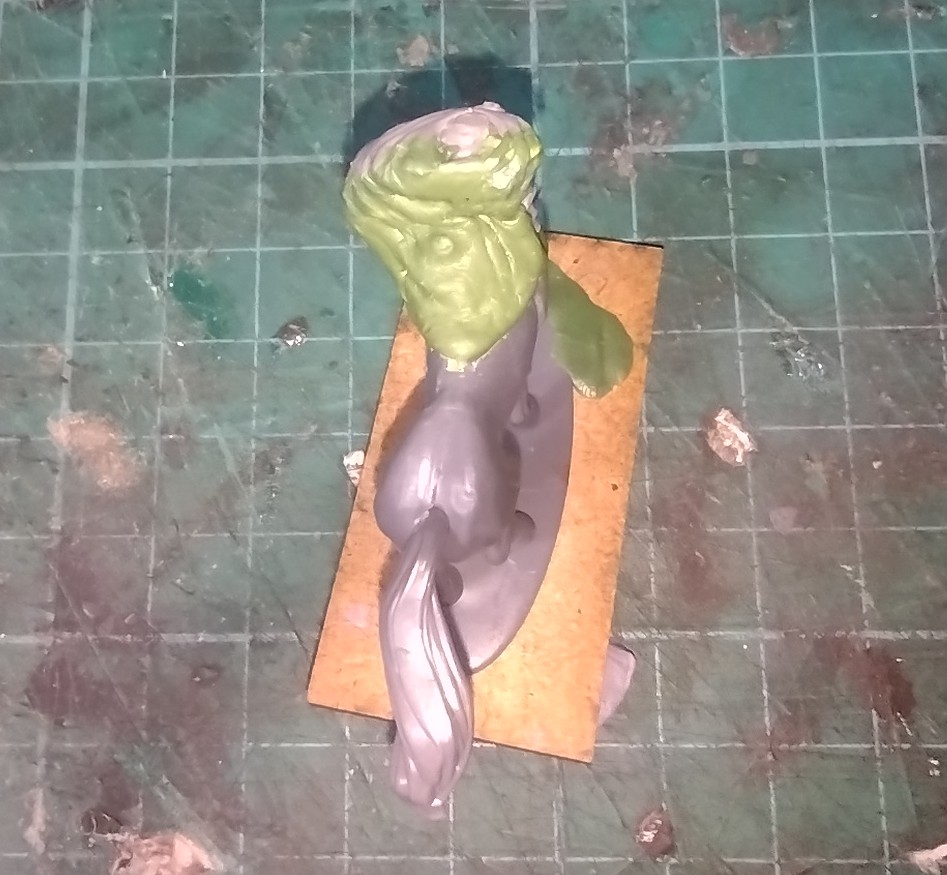
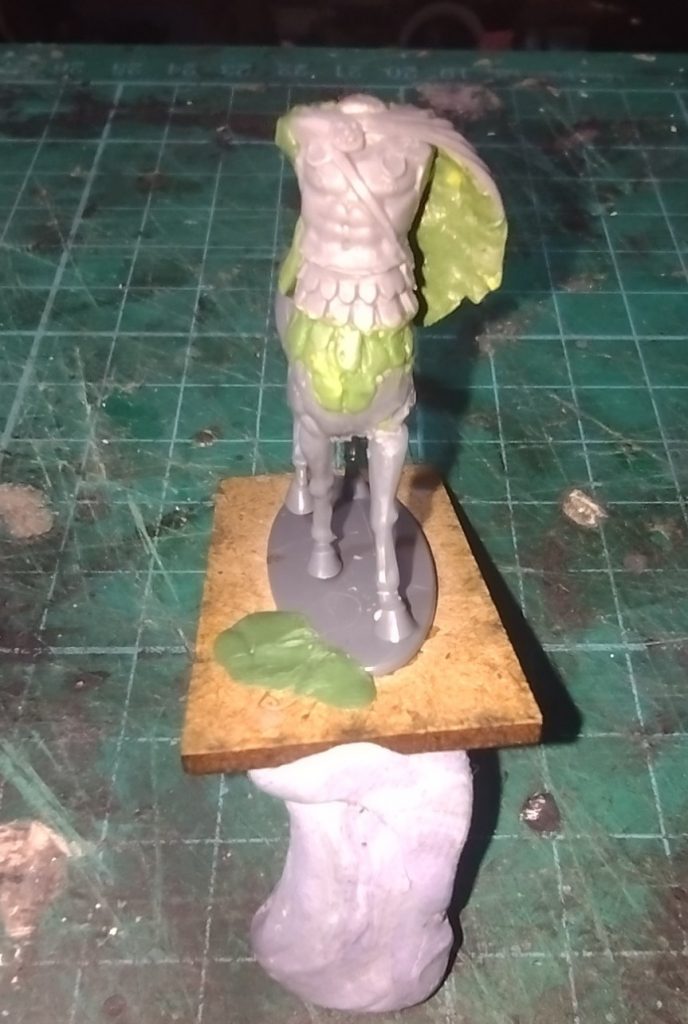
One of the Spartans had a cloak which presented a problem. The cloak was obvioulsy made for a standing human, not a half human, half horse. So I tried bending the cloak to lie correctly on the horse back.
First attempt was using boiling water. This was a total fail. The plastic didn’t bend at all. So, next, with fingers and toes crossed I put the cloak in a hot oven. This worked making the plastic pliable but it re-set hard more or less as soon as I got it out of the oven.
On to plan B!
I made an impression of the cloak in warmed blue stuff then, rolling out a thin sheet of green stuff and pressed this in the mould rubbed with a tiny bit of veseline. This worked perfectly it was then just a matter of carefully removing the green stuff from the mould and carefully addding it to the spartan torso and adding the front piece of the cloak from the sprue. I lost the plastic part that was to go at the back of the helmet for the models hair so I added some more greenstuff to the back of the head and sculpted some.
And here are the finished leaders. I used more regular paint on these but stuck with speed paints for the tunics and helmet crests. I am fairly happy with them. They are good as table-ready, which is, at the end of the day, what I need them for. I try and keep reminding myself that I don’t have to spend ages on paint jobs just for table use. O.k, maybe the odd character model can be a little more fancy but its not necessary to have competition quality miniatures for gaming (not that I think I can paint competition quality!). Still need to work on the freehand stuff for shields and the like,
Let me know in the comments if you have kitbashed anything for Warriors of Athena or maybe you have some tips on free hand painting?