Category: Role Playing Games

Table top Role Playing Games

Revisiting Speedpaints

I’ve always found speed paints/contrast paints or any one of the many variants available, a bit hit and miss. 

I jumped in when the big box of Army Painter’s Speedpaint Mega Set 2.0 was first available for pre-order. As I began to use them over the following months I became a little irritated.  The performance of the paints to achieve the much hyped “one coat over a primed mini gives you shadows, mid tones and highlights” effect turned out to be very dependent on the colour you were using. Some colours worked fine even brilliantly, others barely did the job unless you thinned them. Also I was a little disappointed that a couple of bottles were missing their mixing balls (and yeh I shook them, a LOT!) and a lot of them didn’t have the Speed Paint 2.0 with the descriptive colour name (I think it was about 19 out of the fifty had the new label).

Army Painter Nuclear Sunrise Speed Paint looking a little like chilli sauce.

There was also one colour nuclear sunrise which just didn’t look right the paint had dark speckles in it.  I probably should have contacted customer services but for 3 or 4 bottles out of 50, it just didn’t seem worth the hassle and I am useless at complaining. So I put it down to a few bumps in getting out a pre-order which I am guessing was heavily subscribed.

I have had the occasional success with using the paints. They can be great for larger minis, especially if they have a lot of detail and not a great many flat surfaces.  But I generally only use them when I am in a particular hurry for a table-ready mini. The Army Painter did excel with the metallics. They are just so good.

A couple of month’s ago (three at the time of writing – shit, it has been way too long without posting on my blog!) I watched a great video from The Mini Witch – Lyla Mev, testing the different speed paint techniques and it inspired me to have another try. So I dug out the make-up sponges I’d bought a while back and hadn’t really used, and put together a couple of minis one from the Wargames Atlantic Guards box and the second from the WA Villages box. Introducing the Watchman and the Witch of Teapots (that is almost a Hugh Cook novel title).

First steps, priming both the minis with Army Painter Warpaints Air: Matt Black Primer.

Then it was out with the make up sponge to add highlights with AP Warpaint Fanatic Ash Grey and AP Warpaints Brainmatter Beige. This one of my favourite off white colours and I have a couple of bottles to go before I try out the Fanatic version. 

I only managed to get a post worthy photo of the back of the Witch of Teapots. The back of the Watchman picture was awful.

Adding Colour

The witch is very much inspired by Granny Weatherwax so for her hat and robe I used Grim Black and Purple Swarm for her under robe, which is unlikely to be the proper name for the gament, but you know what I mean.

For the teapot I used a mix of Maize Yellow and Ancient Honey and for her boots and staff I used a brown – I can’t remember which one, there are a lot of browns in the set, which is a good thing. Brown is one of those colours you can never have too many variants of! Also not shown here I used some Occultist Cloak on her leggings.

I think I’ve said this in a previous post – I need to write down the colours I use in a project if I’m going to blog about it, but the best laid plans etc. So as far as I can remember, for the breast plate and tassets sword blade and the rest of his armour plus the metal parts of the lamp are all Broad Sword Silver with Holipte Gold for the pommel and crossguard of the sword, The feather was painted with Slaughter Red, the hat Royal robes, the tunic Purple Swarm and the cloak Ghille Dew, Then various browns for the belt, gloves, hair and beard,

I got carried away with the process at this point and didn’t remember to take more photos of each step. I really need a camera in my head!

The Finished Minis

And here they are! I did re-do the flesh tones with standard acrylics and worked on the watchmans lamp a little with normal paint and did a dark wash also on the watchman but otherwise all speed paint. I particularly like the way the watchman’s cloak turned out. It sort of has a weathered look about it.

The Witch of Teapots with trusty teapot and x-tra large twiglet.

So overall I am pleased with the results. The sponge does add highlights with a different quality than the drybrush which on some areas looks a lot smoother, but, as I think Lyla pointed out the sponges are not able to reach some parts of the mini. For that matter though, that can happen with drybrushing also, but not as much as the sponge method. When my smallest drybrush wont get in to a hard to reach area, I usually grab an old brush and snip of a chunk of the tip, being a synthetic brush user I have a lot of old brushes. Oh the curse of the hooky tip!

How do you get on with Speedpaints/contrast paints? Have you any tips to make them look awesome? Do you just totally hate them? Let me know in the comments!
Converting a Buzz Lightyear Zurg Fighter Ship for Table Top Gaming

Its been a while since my last post. Brain weasels have been misbehaving. Today though, I have a day off work so have been able to finish a project I started a couple of months ago.

I’m not sure where I first saw the idea. It seemed to pop up all over the internet a while back, converting a kid’s toy for table top gaming, like Stargrave, 5 Parsecs from Home or any number of Role playing or wargames.

I’m always impressed by people who can see the potential of things like this for conversion or scratch building wargames stuff from odds and ends. One of the YouTube Channels I watch, Greig Johnson Making has some great examples. Greig just seems to have an eye for seeing the potential of all sorts of junk and stuff to be used in making amazing models and costumes.

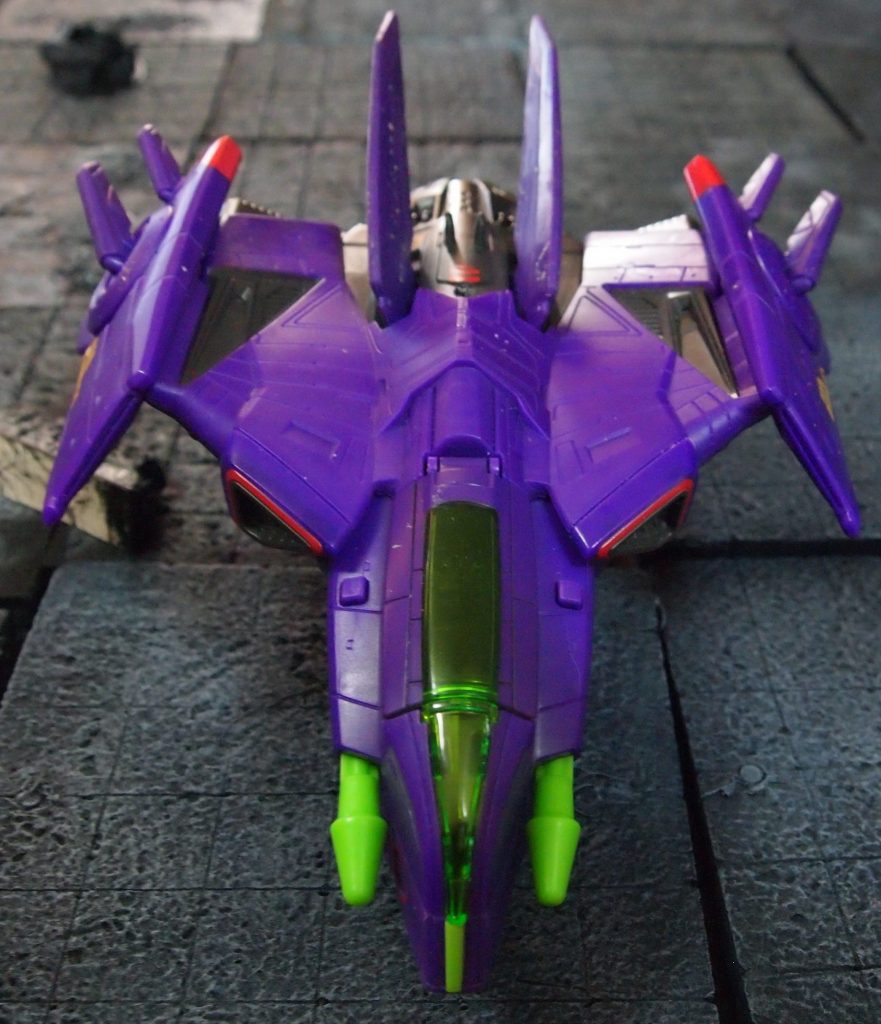
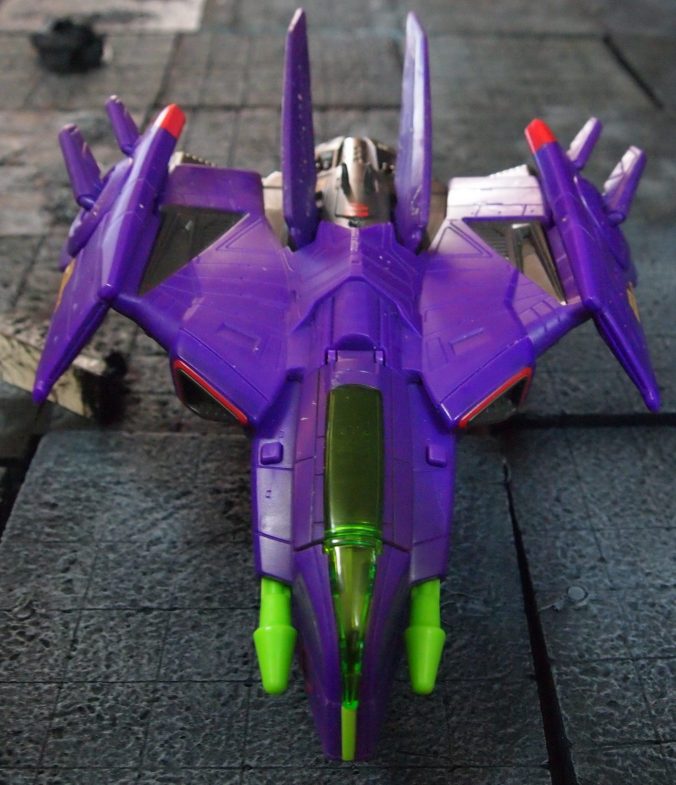
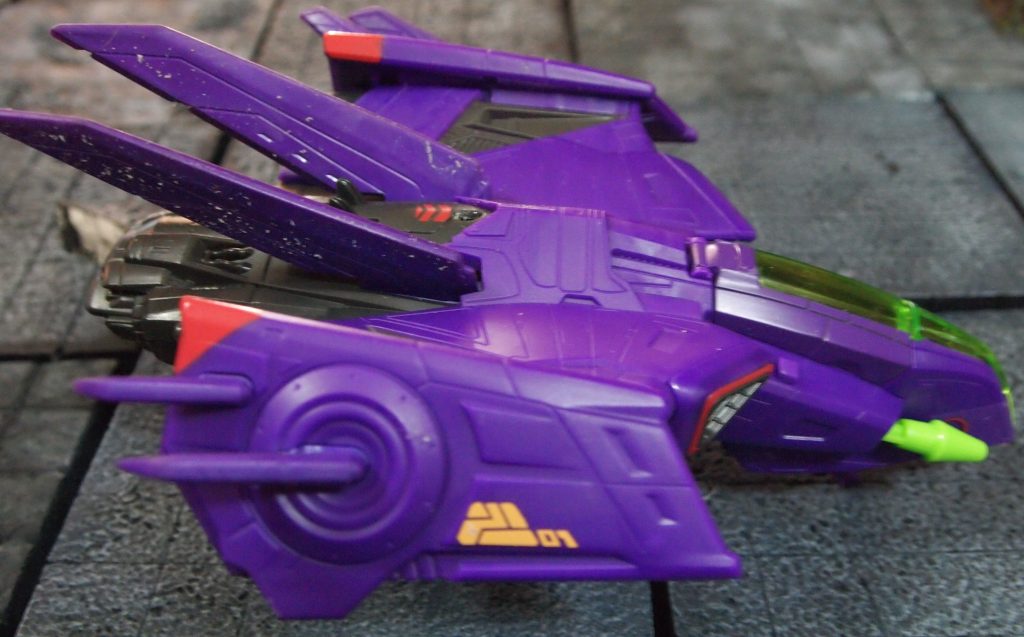
First step was finding a Buzz Lightyear Zurg ship cheap enough and managed to find one on Ebay.

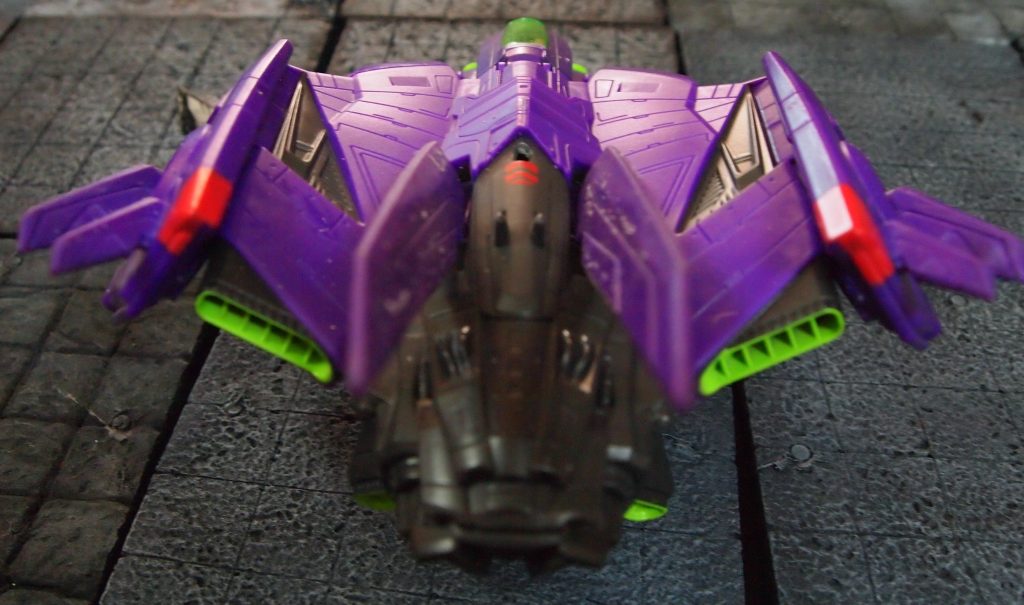
Buzz Lightyear Zurg Fighter ship toy

Preparation

First steps were to glue the canopy shut as I wouldn’t be needing it to open and adding some stuff from my bits box to make the ship look a little different. I also made a mould of some parts from a Kill Team Into the Dark sprue that looked like they could be generic ship parts.

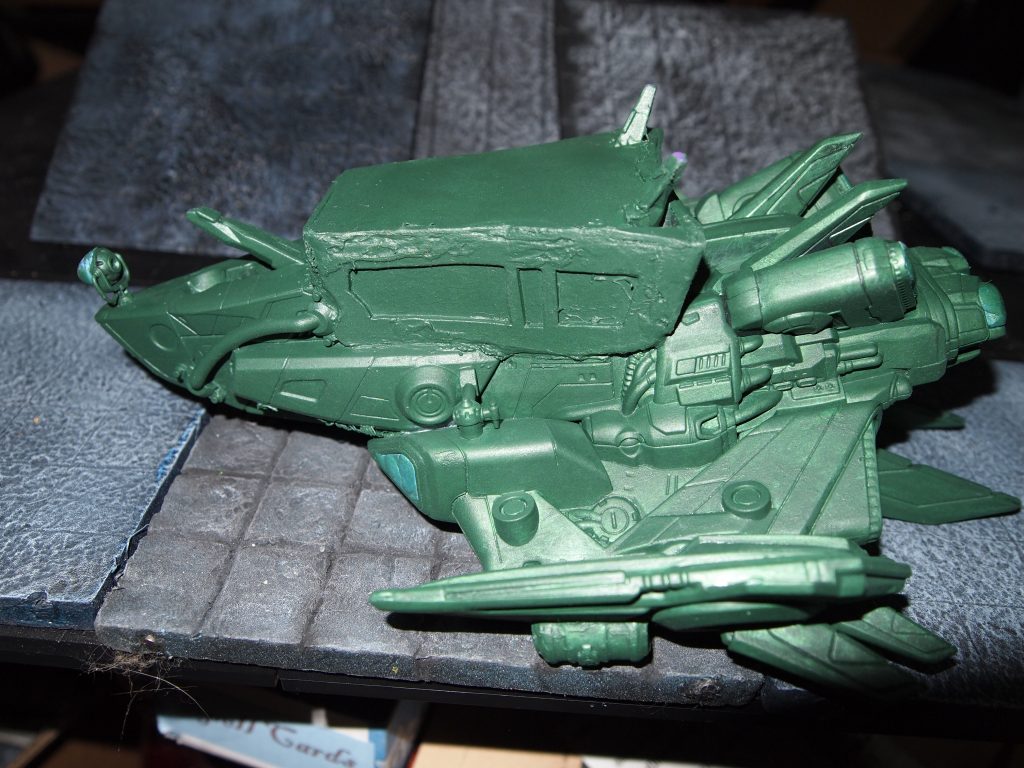
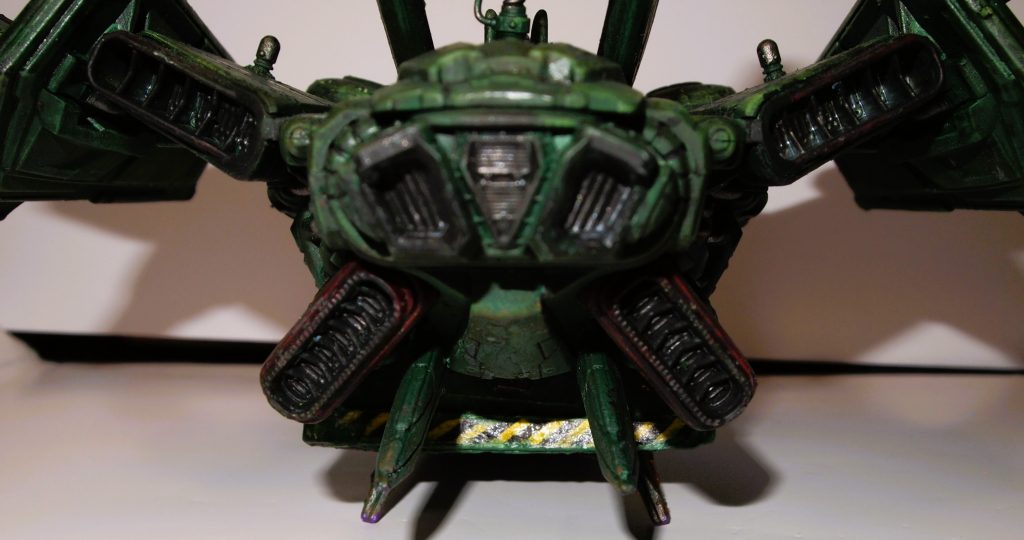
I didn’t think the ship looked like it would have room for more than a couple of crew so I scratch built a compartment from mounting board. It doesn’t have to look totally accurate scale wise just give the impression of having space for a Stargrave crew. The ship will really be set dressing so again it just needs to give the impression of being the crew’s ship. I also added some strips cut from an old tea strainer to top of the jet intakes. The effect didn’t quite work out but I decided to leave them on anyway after the hassle of cutting them and stabbing my fingers multiple times with bits of wire.

After priming the ship with my airbrush and some Vallejo Mecha black primer I painted the whole thing with metallic craft paint. I didn’t want to use up any of my model paints for this so chose the cheaper alternative, which is fine as not a lot of the metallic paint will be seen.

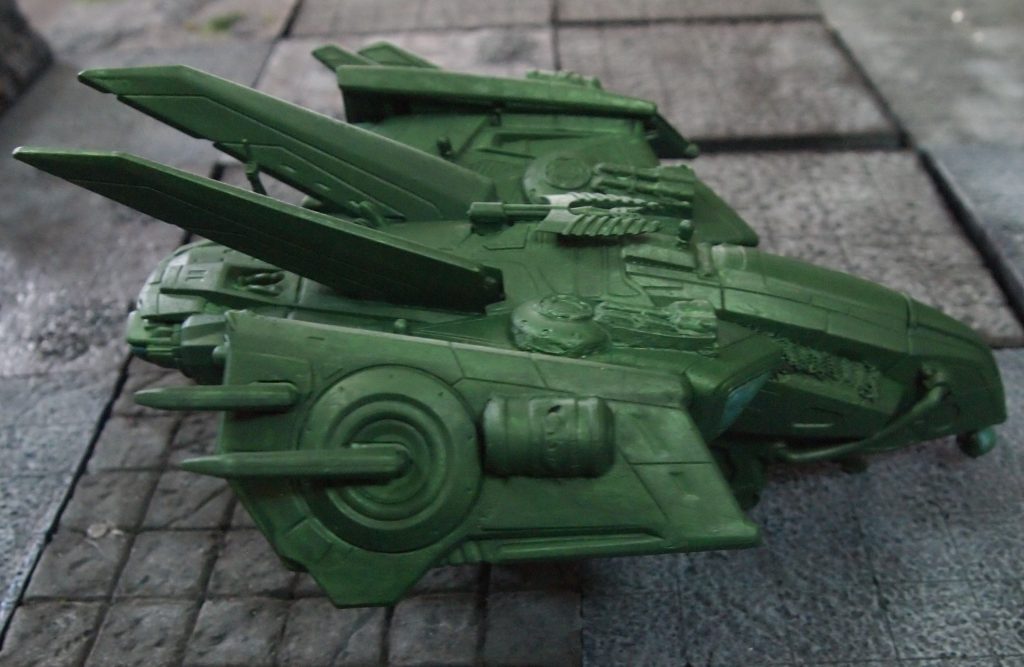
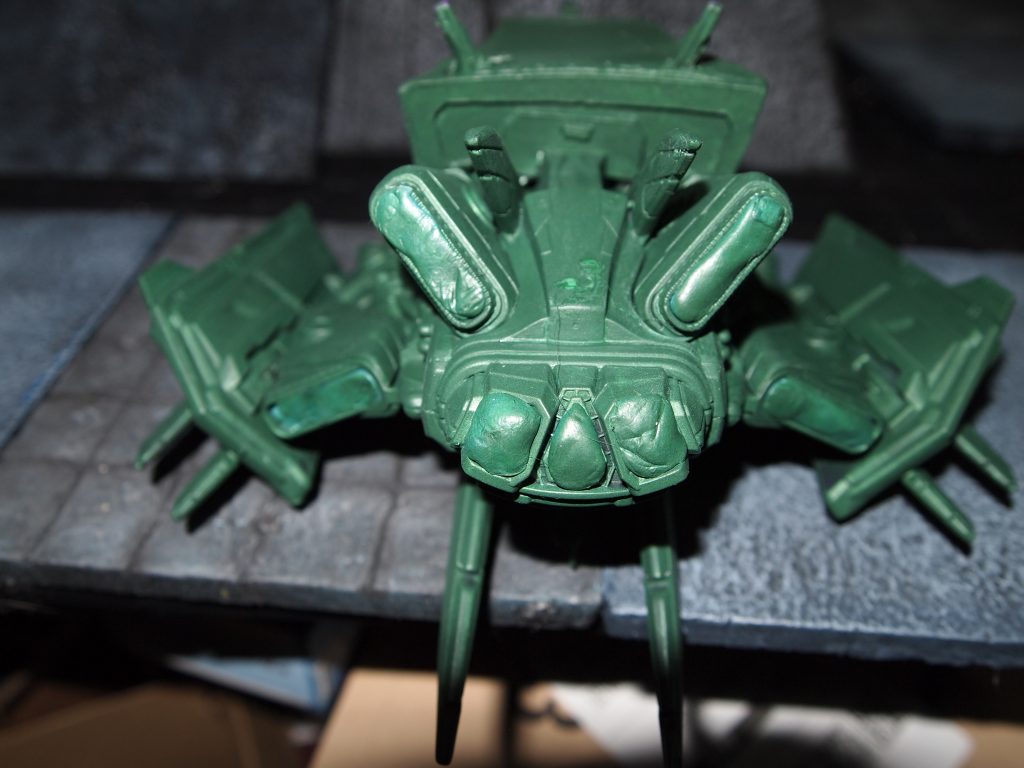
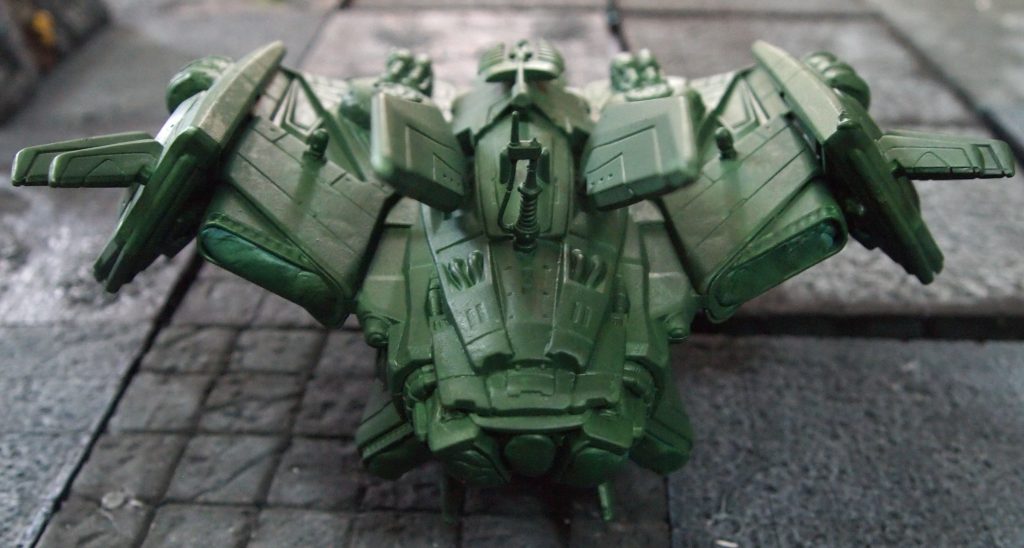
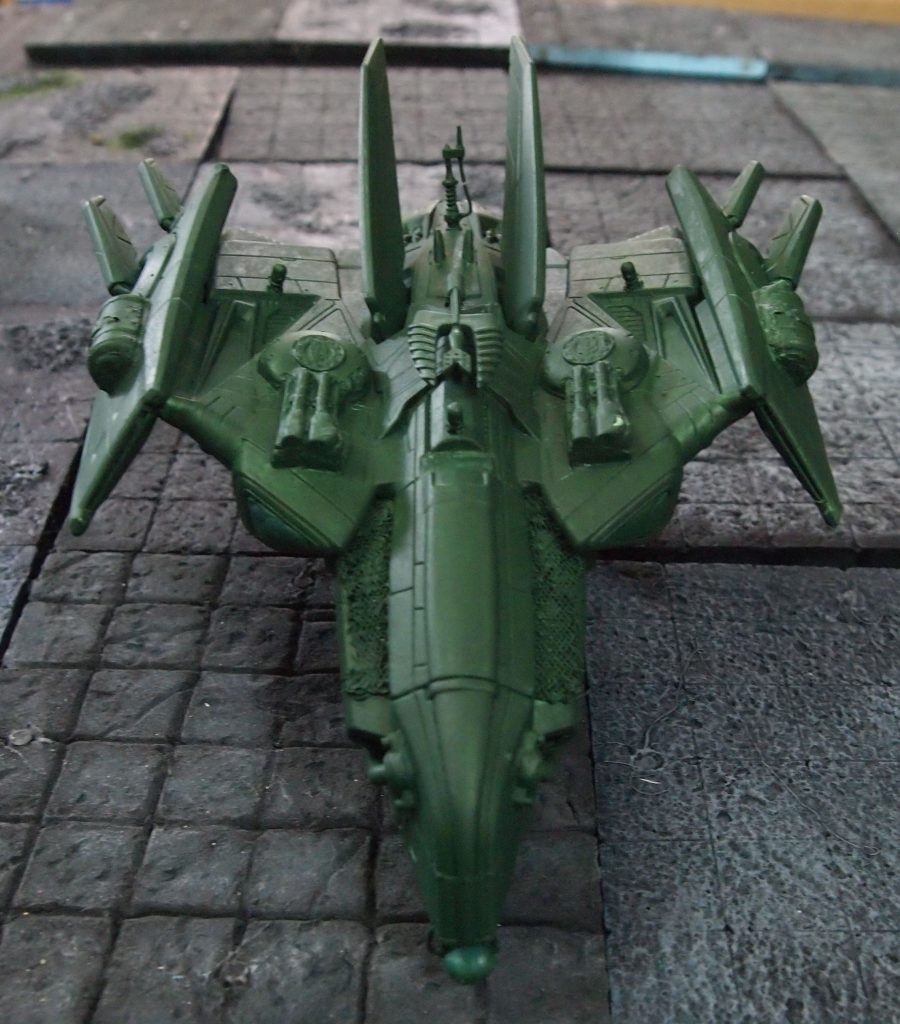
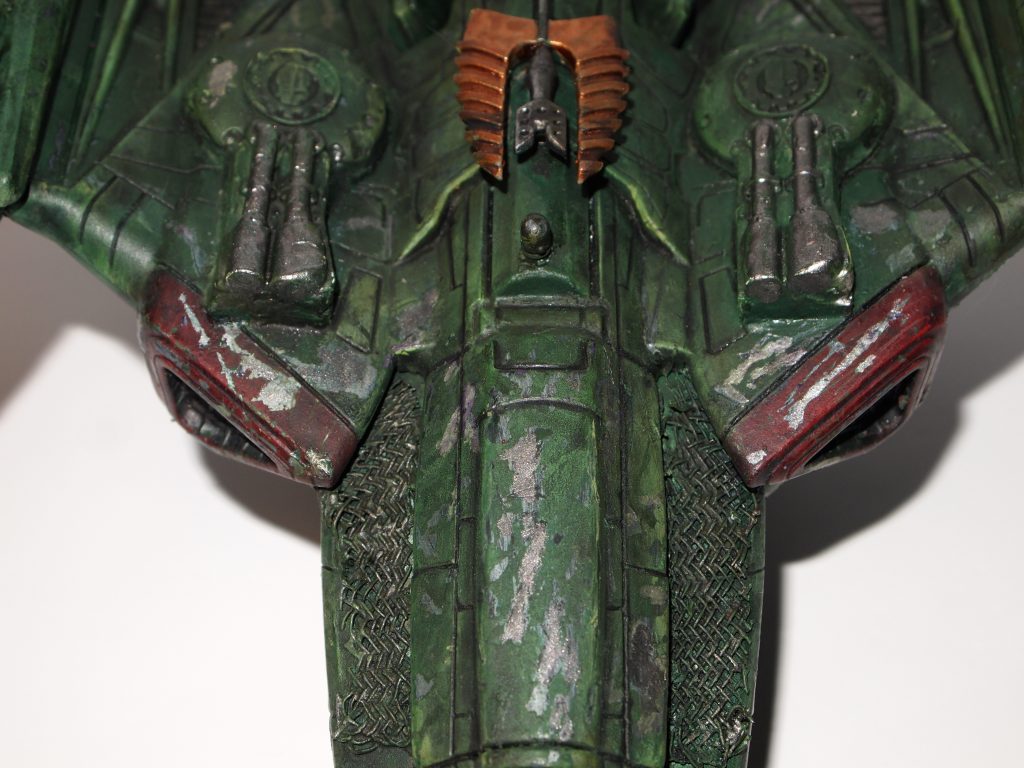
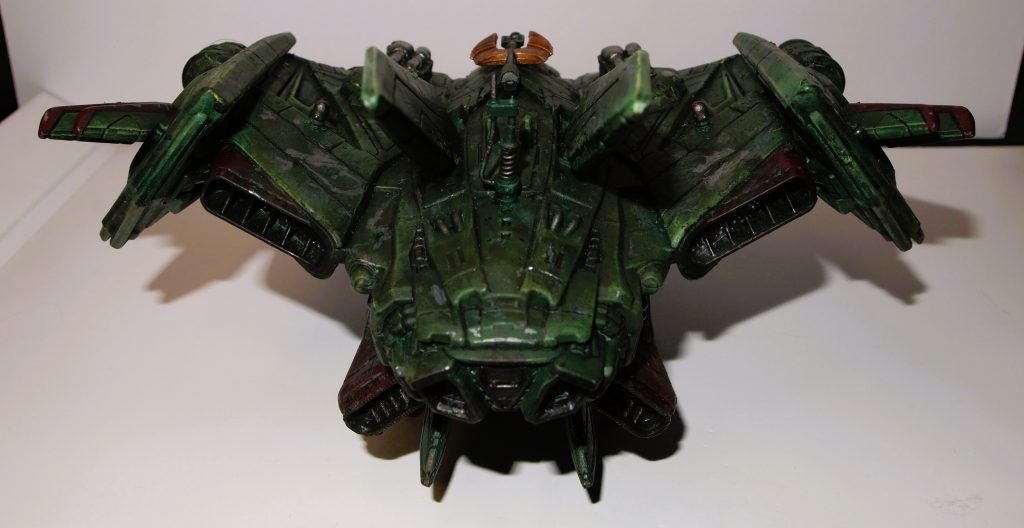
With the metallic paint dry I painted the whole thing with chipping medium and masked off the jet exhausts and intakes with poster tack, before airbrushing the whole ship with Army Painter Angel Green paint.

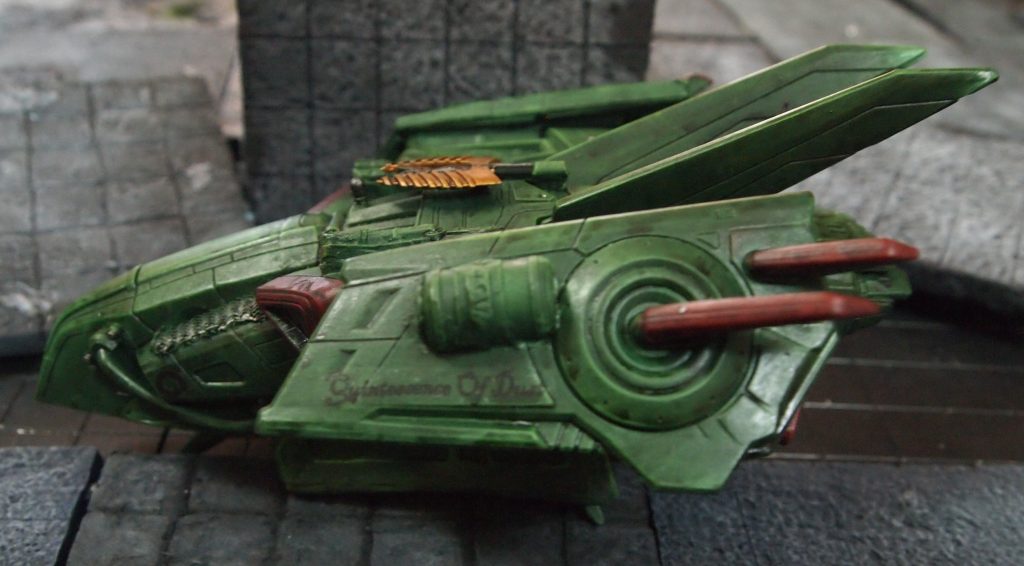
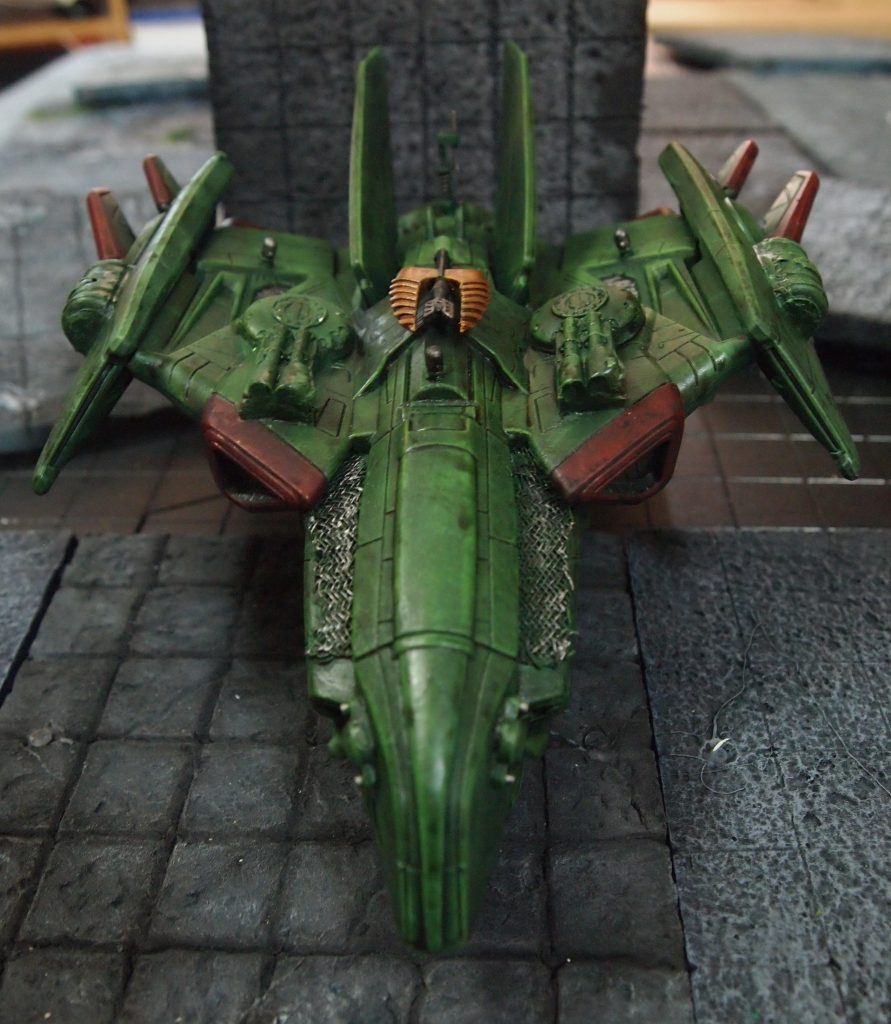
Buzz Lightyear  Zurg Fighter ship toy painted green
Buzz Lightyear Zurg Fighter ship toy painted green

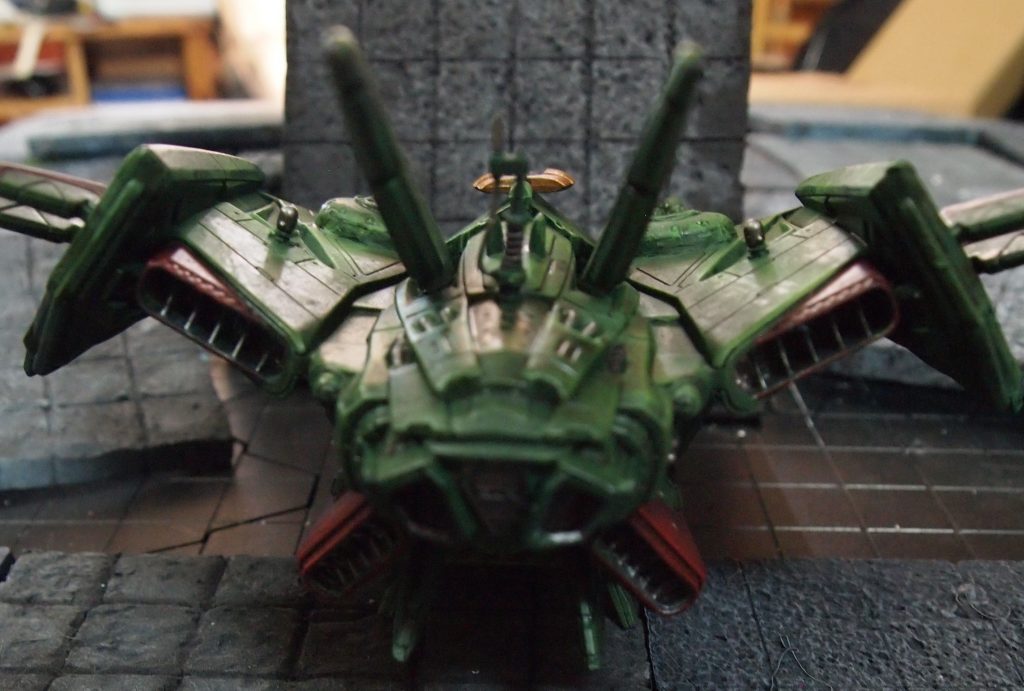
The next stage was adding some detailing with Two Thin Coats Beserker Red, Warpaints fanatic Weapon Bronze and Army Painter Gun Metal. Then I did a series of dry brushing highlights and washes to get the shadows and darken the panel lines.

I also tried adding some water slide decals with ‘print your own decals’ paper that is supposed to work with a normal printer. The result wasn’t great. The problem is any light colour tends not to have a lot of ink printed on to the paper and so becomes more or less transparent. More experimentation will be needed to perfect the process.

Buzz Lightyear  Zurg Fighter ship toy painted green

The finishing touches

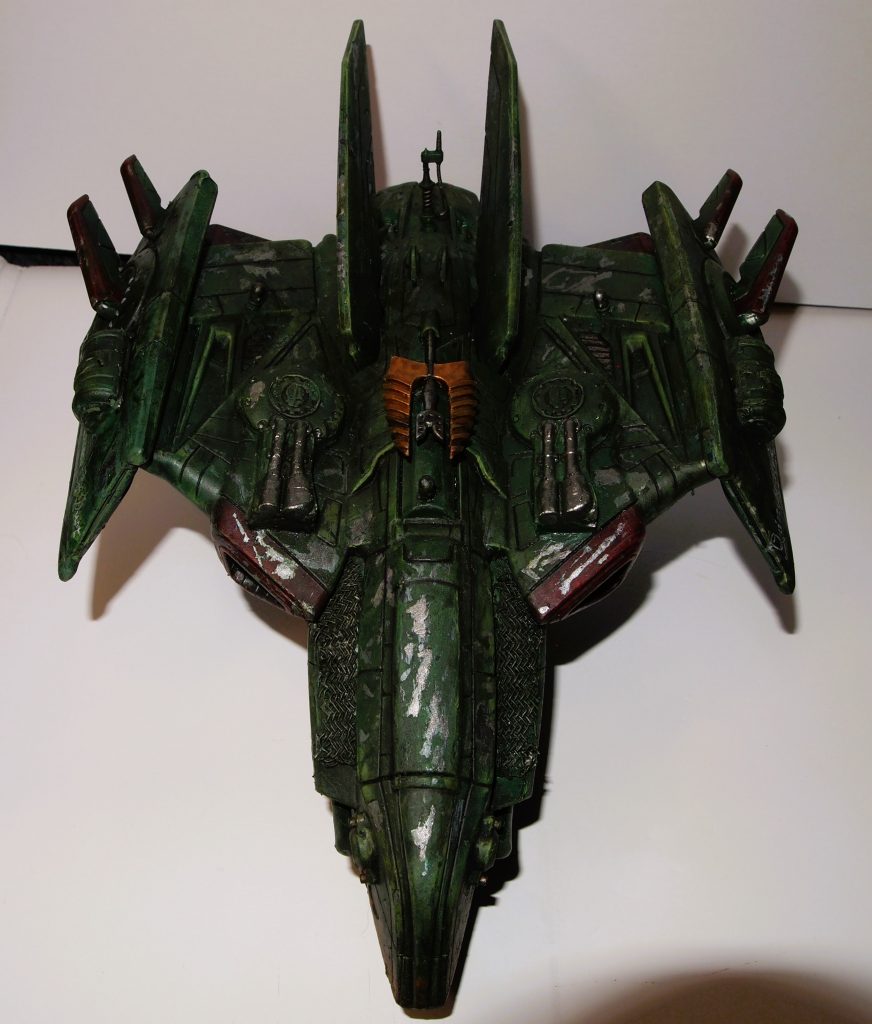
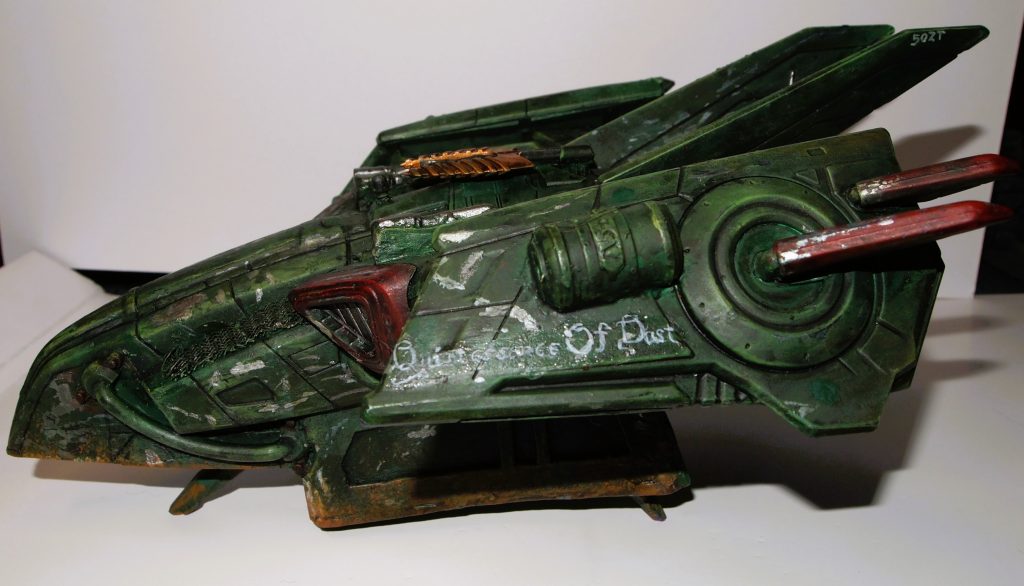
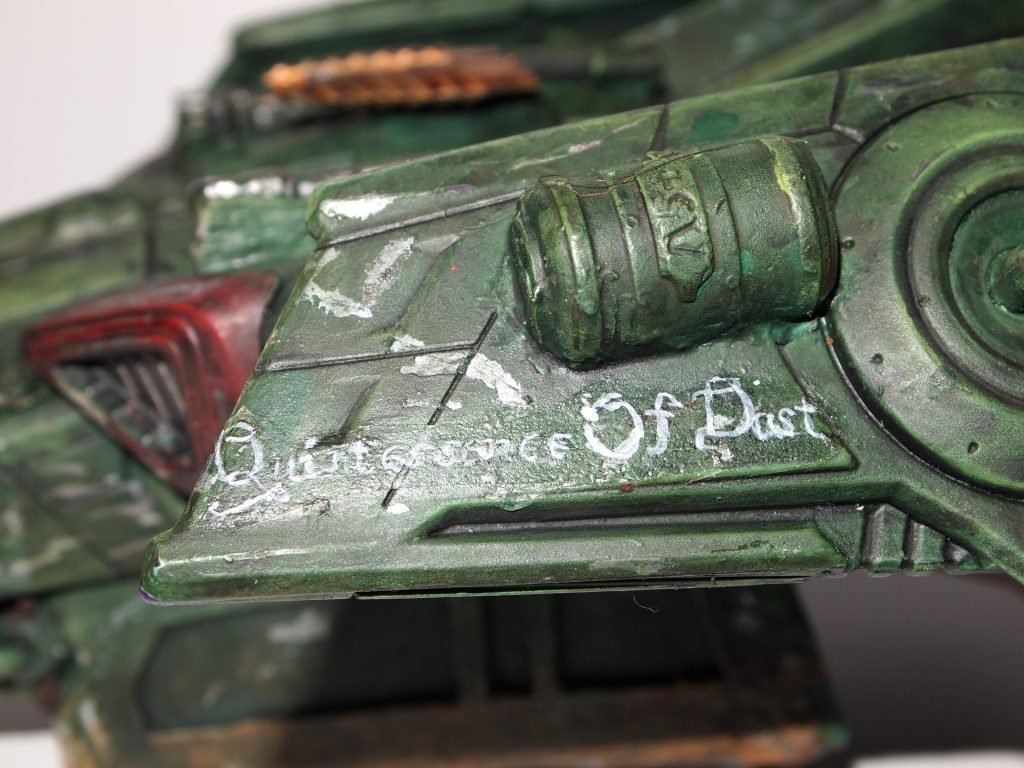
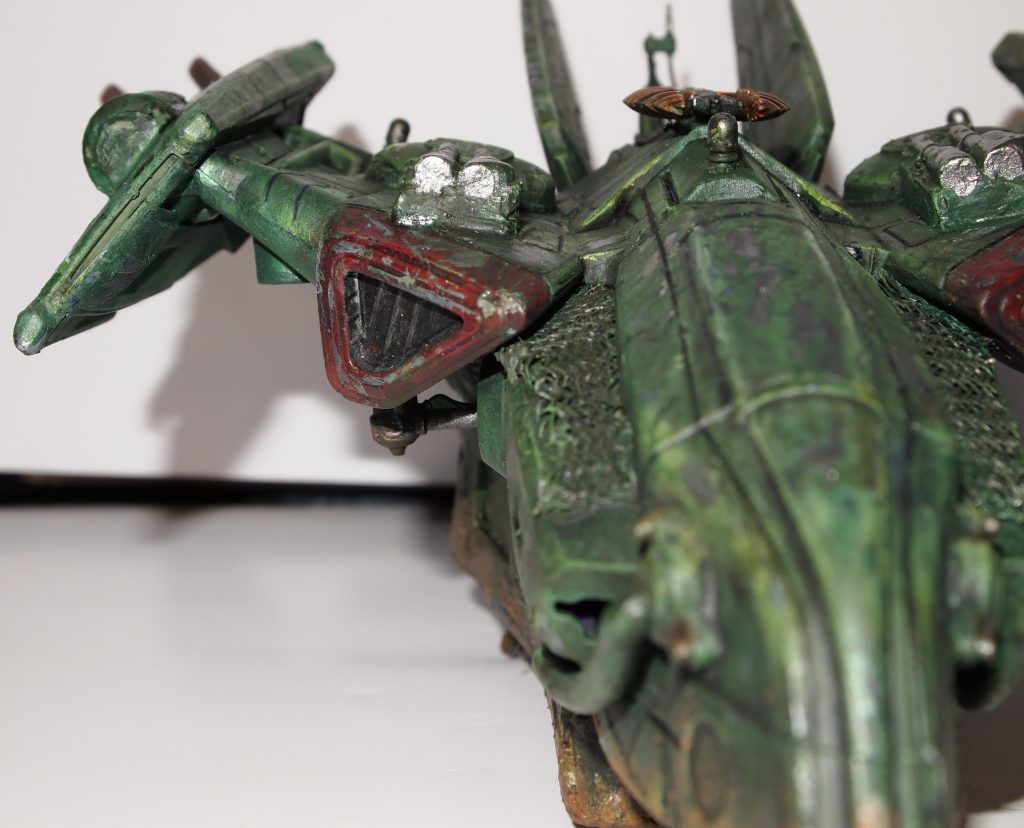
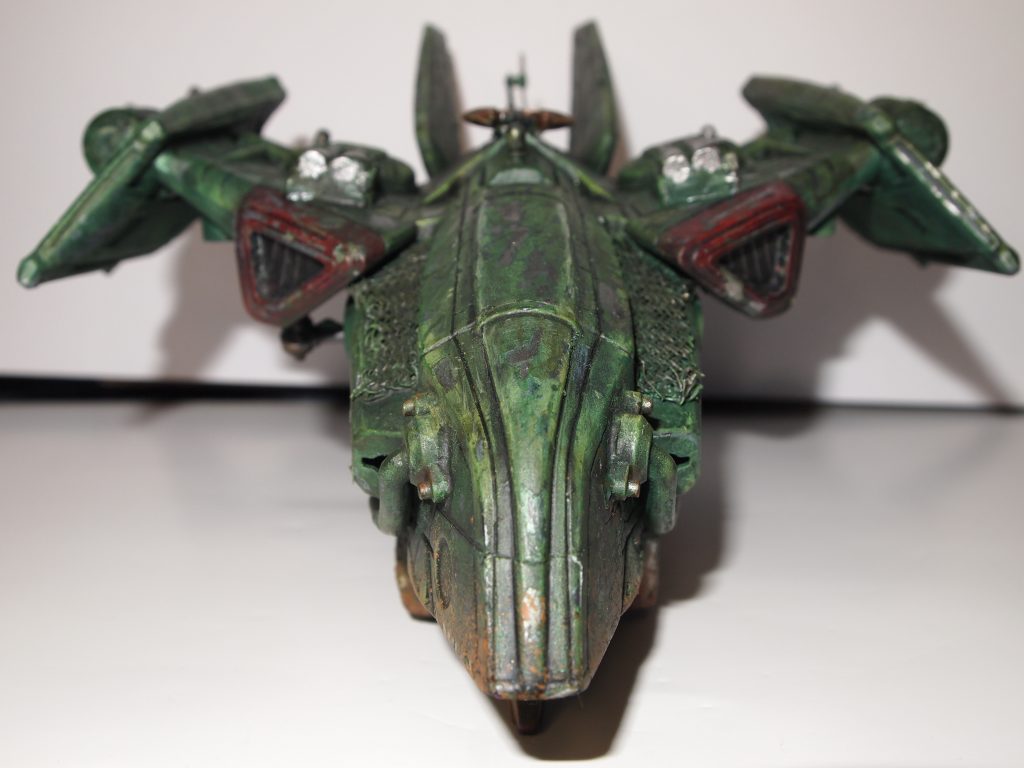
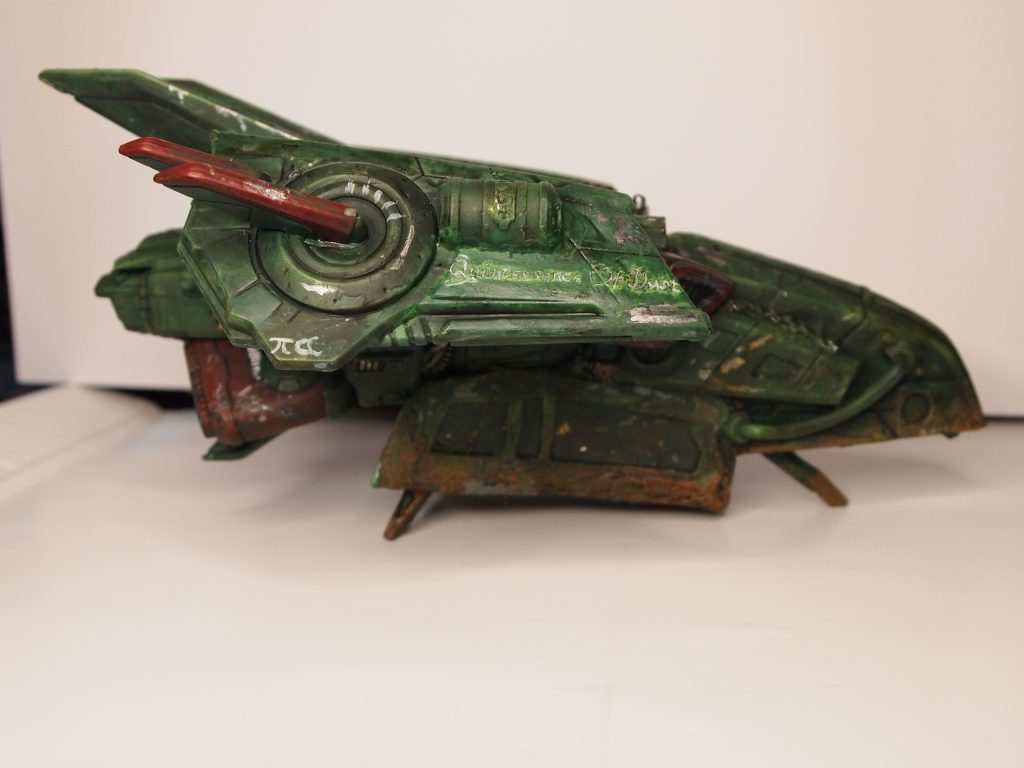
It was time then for the fun part, the grunging! I wet the areas where I wanted chips to the paintwork and using the wrong end of a brush chipped off paint. I then used some Green Stuff World Earth Liquid Pigment – Light Earth, which I added with a sponge on the bottom of the ship. I also painted over the ship’s name transfer with some Army Painter Warpaints Drake Tooth. I gave the whole ship an all over wash using Green Stuff World Dipping Ink – Zombie Dip, which is my favourite for adding a bit of dirt. And so the ‘Quintessence of Dust’ is ready for the table.

Final Thoughts

Overall I am pleased with the results although they are not exactly what I wanted. I think if I do something similar again I will add two coats of the chipping medium as some areas didn’t chip very well. I also might see if there are any generic space ship type waterslide decals to buy and add them later. Another thing I might do is add the missiles that I’ve currently left off. I’d cut them so that they fit flush with fuselage and make them look part of it. That is, if I can find them, I pinged them off somewhere in my lounge and haven’t seen them for a while. Some things don’t change much with age as this was the fate of many of similar darts and the like when I was a kid.

Have you done a similar conversion for your gaming? Or do you have any tips on cool effects you can use to use on similar models? Let me know in the comments.

[Update – I just posted a link to this post on Bluesky and was just looking through posts from people I follow and saw that Mr Peach had posted a video about doing the same conversion about an hour ago! Synchronicity or weird nerdy gamer psychic resonance? Who knows? Any way, to see how to do a similar project properly have look here!]

© 2026 Miniature Battles

Theme by Anders Norén — Up ↑