I have been a bit of a sucker for the Killteam big boxes. There is something irresistible about opening a big box full of loads of minis and scenery. I had more or less decided I would stop collecting them though when they were selling out quicker than I could click on a link a couple of years ago.
So when I saw the preview for Hivestorm I thought I wouldn’t get a chance to get a copy. But as it was GW seemed to have made enough to go round this time and I was gifted a Hivestorm boxset last December.
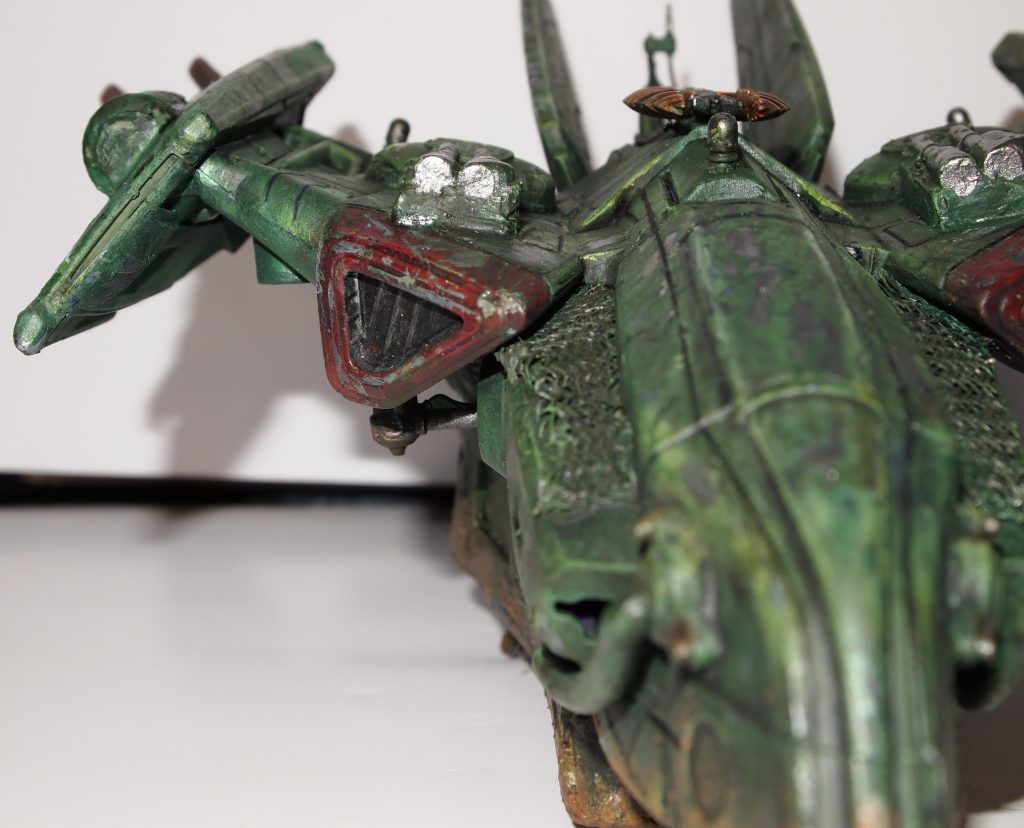
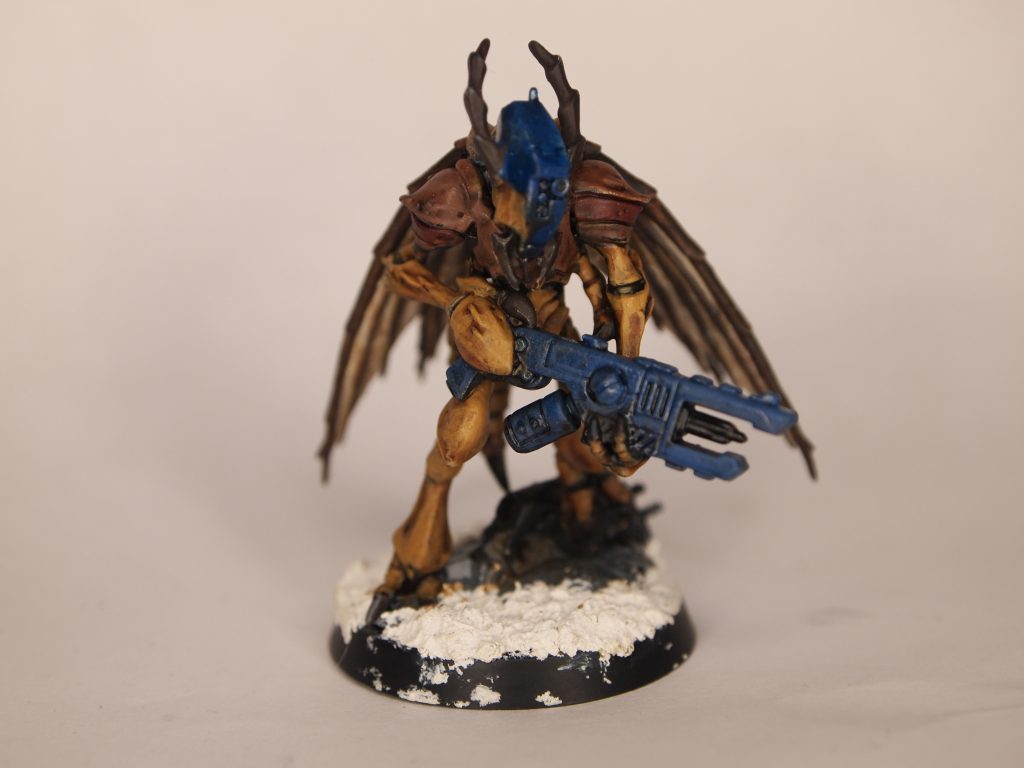
I particularly wanted Hivestorm because the scenery looked excellent and the Stingwings are just awesome. I studied entomology as part of my degree way back in the mid ’90s and have a soft spot for any insect like miniatures. Another incentive to getting the box is that the new Killteam has rules for solo play.
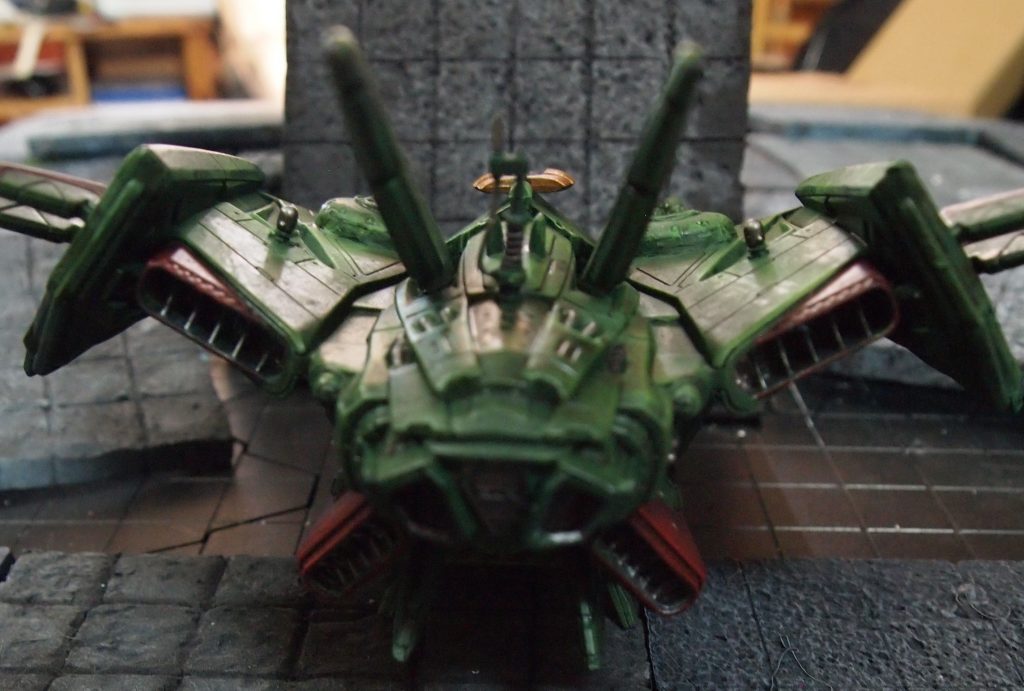
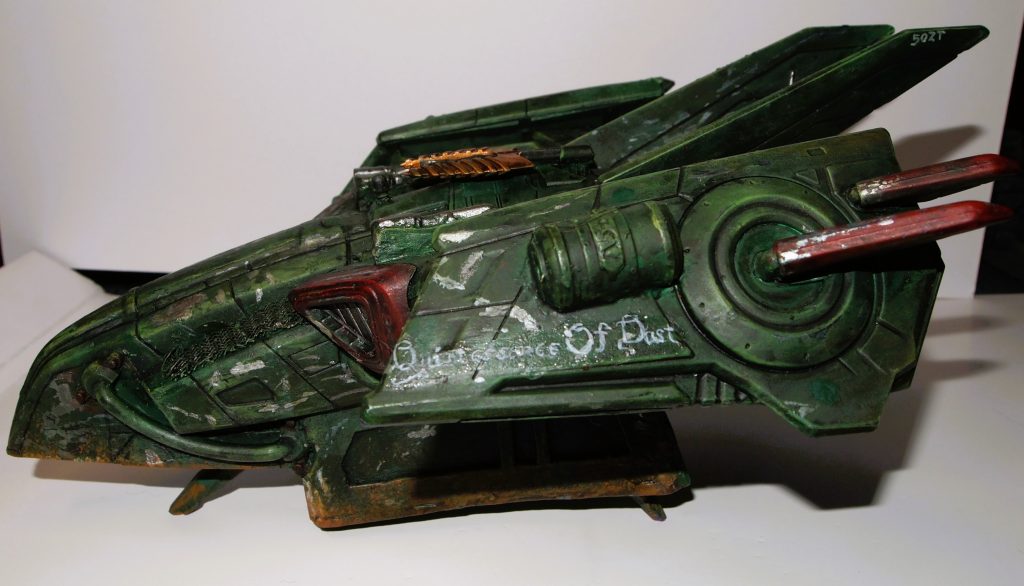
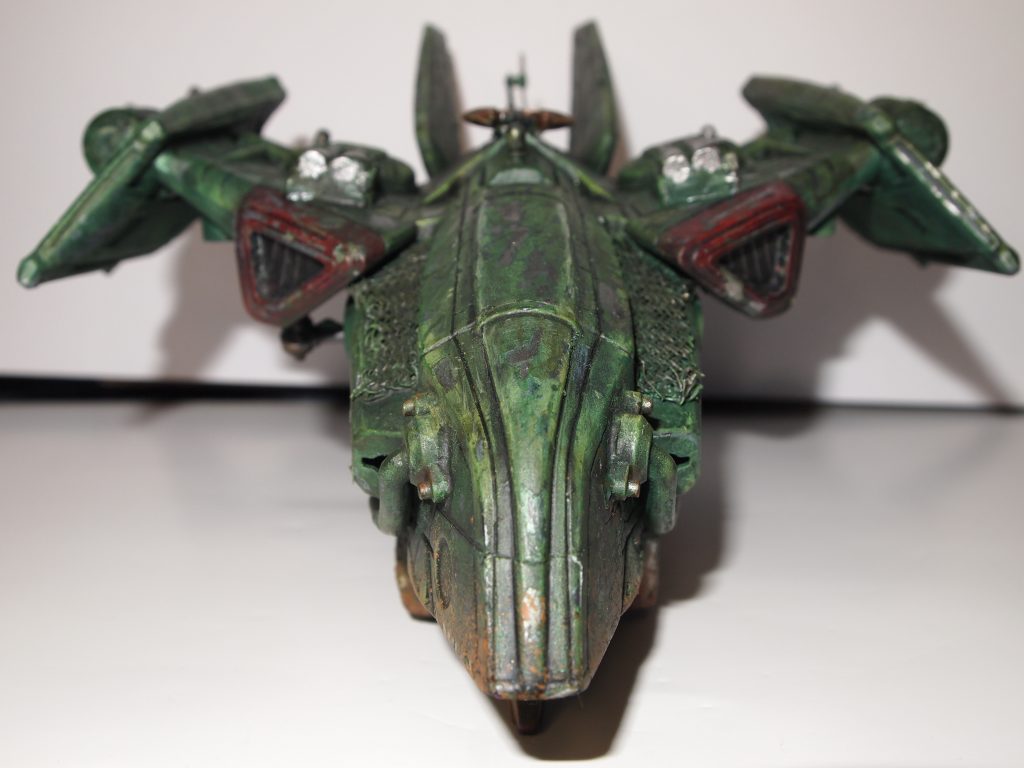
The inspiration for the paint job was easy, vespid is from the family name (Vespidae) for social wasps so I tried to emulate the colouration of Vespula crabro, the European hornet.
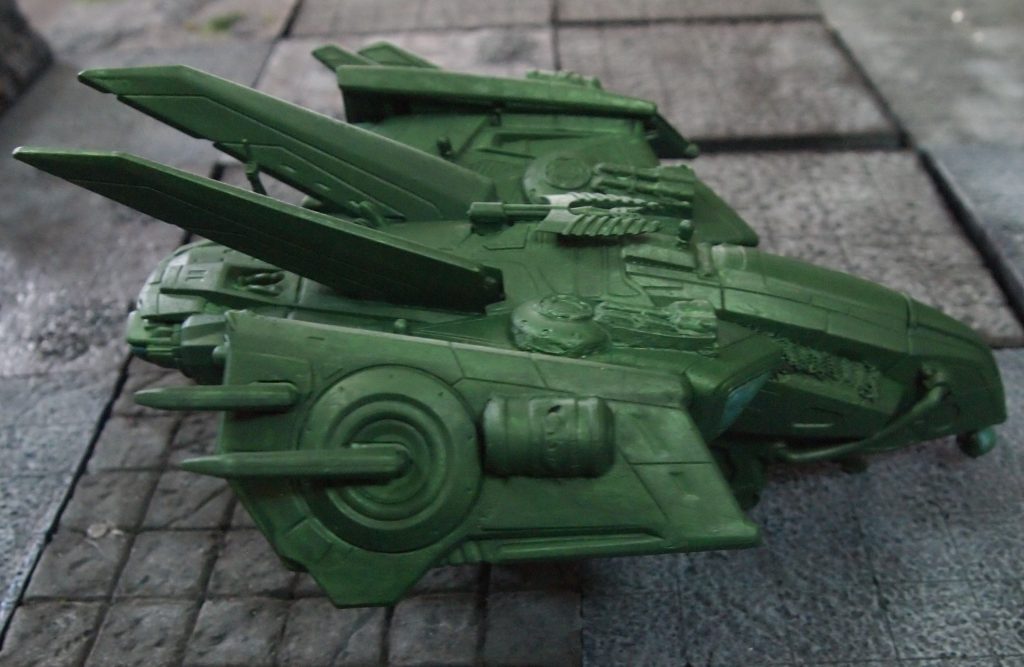
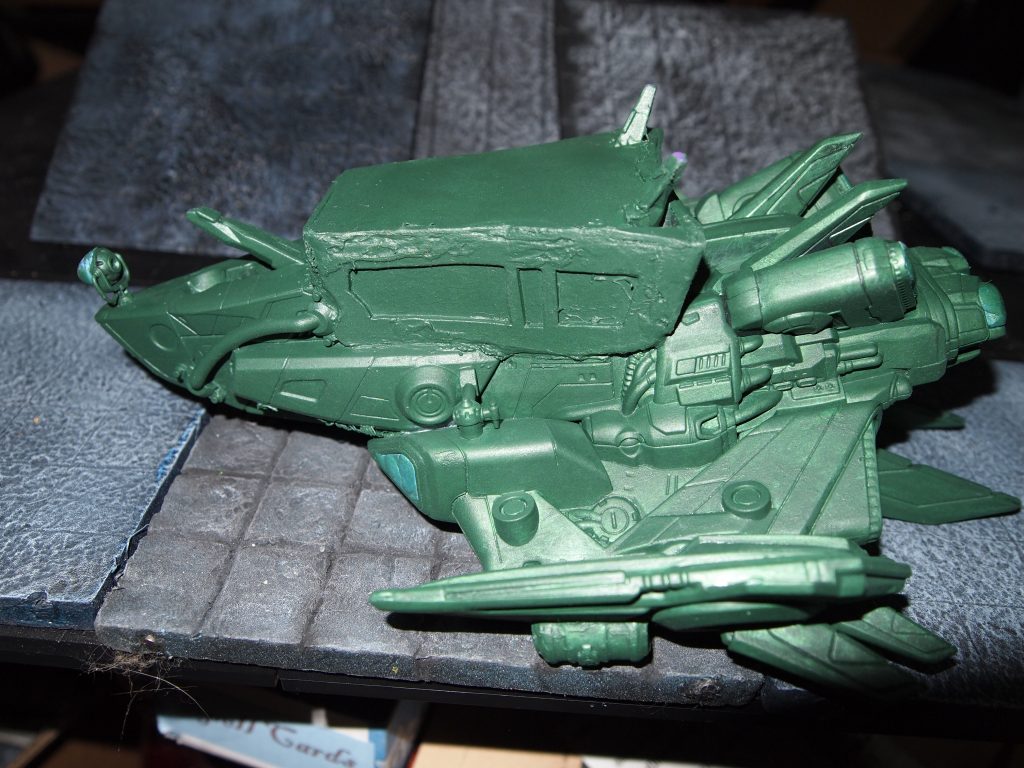
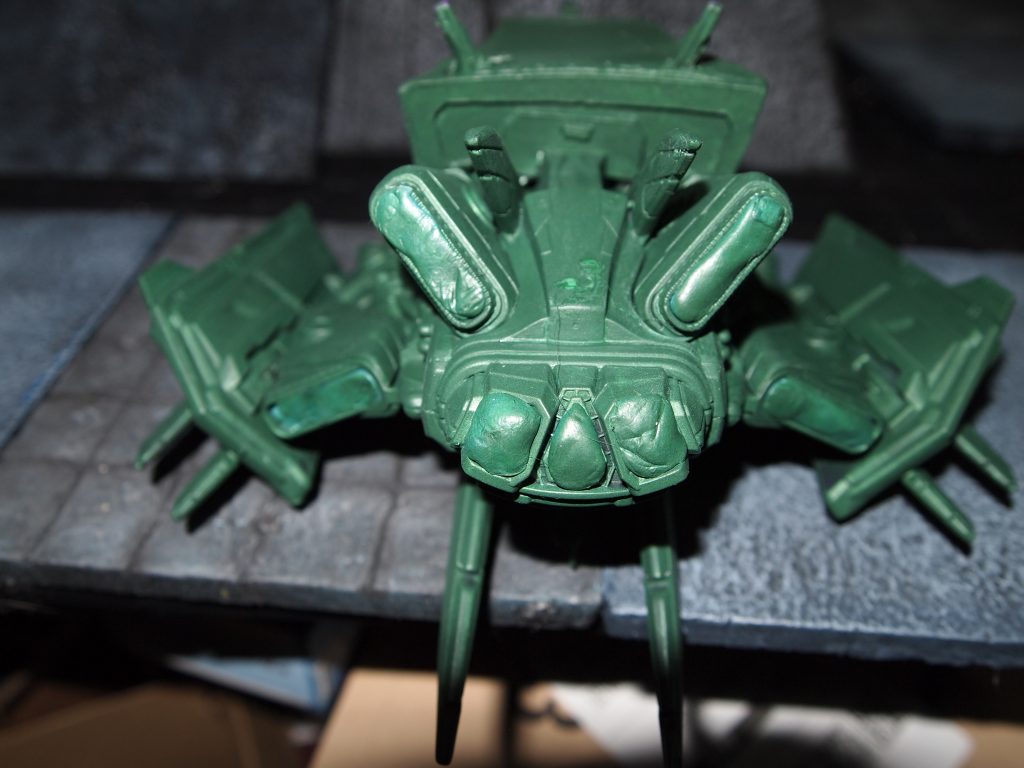
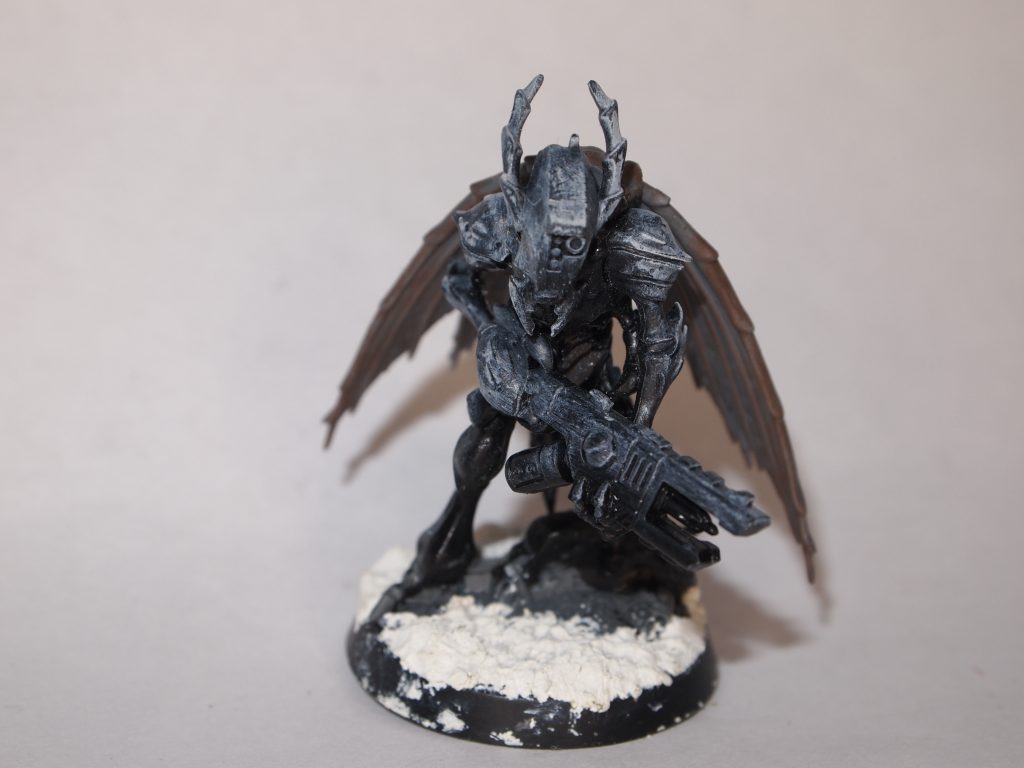
After assembling the model and removing mold lines. I started off with black primer then dry brushed with first grey and then a lighter drybrush with white to act as a guide as it shows up the details. Not quite a zenithal highlight but almost.
Preparation
The base was then prepared with grout. I mostly use grout, Polyfilla (if I have an old tube in the tool box) or sometimes bits of green stuff or Milliput left overs.
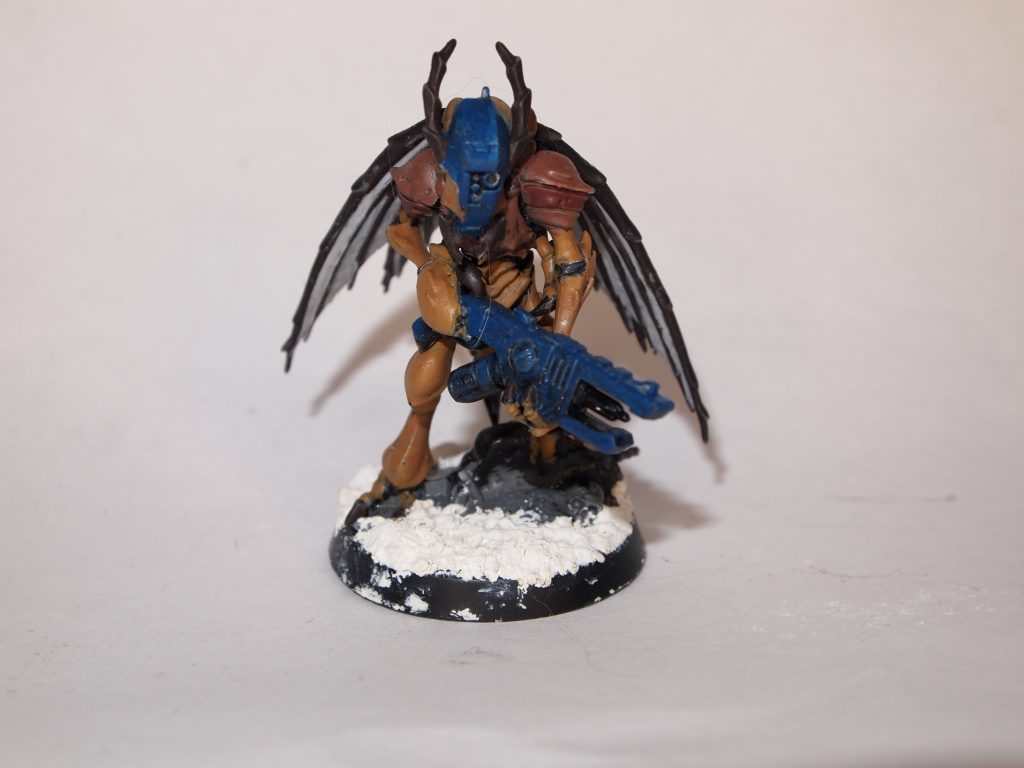
The base colours
For the abdomen and the limbs I mixed a yellowy brown using Army Painter Warpaints Fanatic Tree Ancient, Army Painter D&D Goblin Skin and Army Painter Warpaints Daemonic Yellow in a rough 1:1:3 ratio.
Then for the darker areas, mainly on the shoulders, I mixed a darker brown with APWF Tree Ancient, Army Painter D&D Goblin Skin in a 1:1 ratio.
For the reddish bits on the shoulders, I mixed Duncan Rhodes Two Thin Coats – Berserker Red and APWF Tree Ancient in a 1:1 ratio.
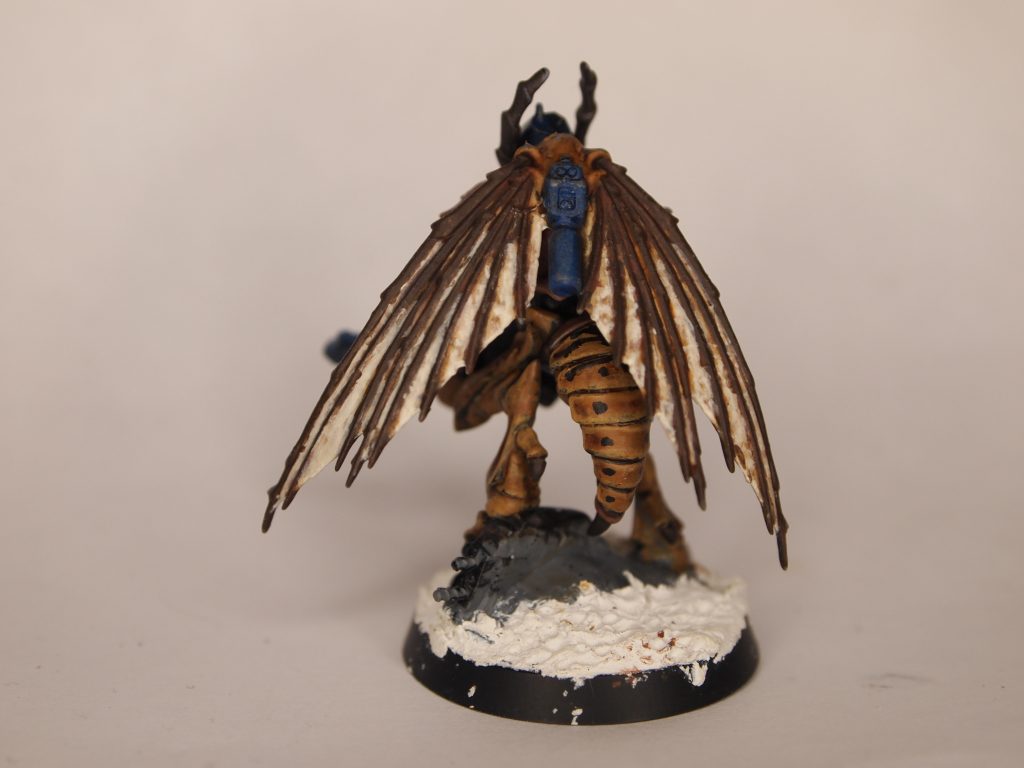
For the mandibles, antennae, claws and wing veins I mixed APWF Tree Ancient and Black in a 1:1 ratio.
For the weapon and ‘tech bits’ I wanted to use a sort of complimentary colour to the main colour so used a dark blue using APW Deep Blue.
For the wing membranes I went for an off white with APW Brainmatter beige, which is one of my favourite paints, I go through loads of it. I haven’t tried the new Warpaints Fanatic version and hope it isn’t very different.
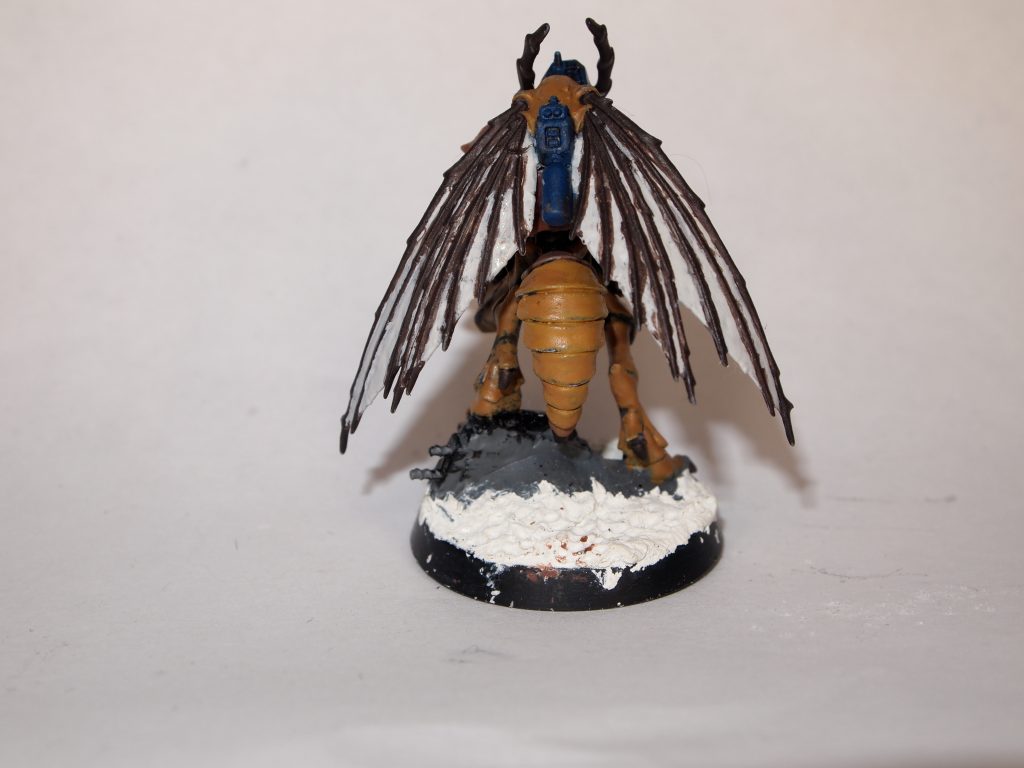
Adding washes
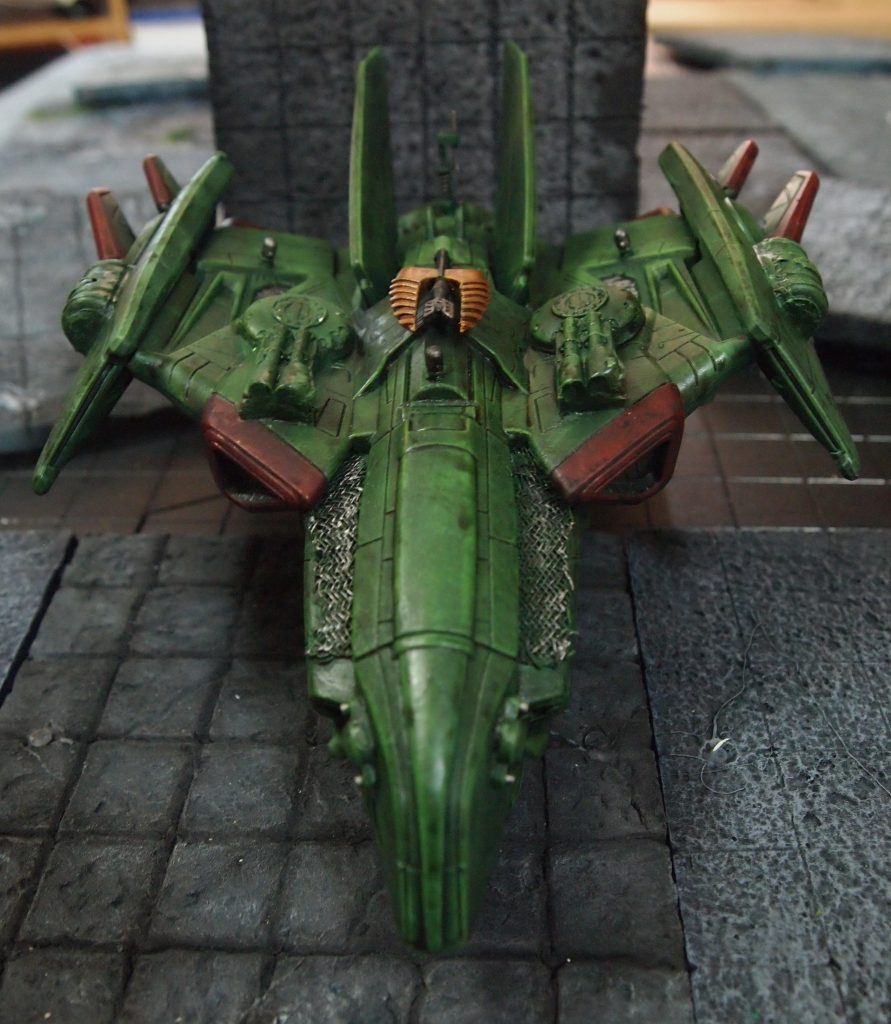
With all the colours added I then used APF Strong skin tone and Flesh Wash in a 2:1 ratio over the torso (or should that be thorax?), arms, legs, mandibles, abdomen, antenna, claws and wing veins. The wing membranes were washed with APW Light tone. The tech bits were washed with APW Blue tone. This stage is to add some deep shadows and pick out detail that would have been obscured by the base paints.

First Layer
For the first layer I used lighter versions of the base colours, trying to cover all the surfaces except where the deepest shadows would be. I also started to add some hornet type markings to the model.
For the abdomen and limbs I added more Angelic yellow increasing it in the base colour to 4 parts.
On the shoulders, for the brown areas on the shoulders I increased the Goblin Skin parts to 2 and for the reddish area I increased the Berserker red to 2 parts.
For the tech bits I added mixed the Deep Blue 1:1 with DR2TC – Gravestone Blue.
For the mandibles, antenna, claws and wing veins I used just the APWF Tree Ancient and for the wing membranes just the Brainmatter Beige.
Second Layer
With the second layer I tried to paint a smaller area over the previous layer with lighter paint mixes so adding more angelic yellow and goblin skin for the limbs and abdomen, and the brown areas of the shoulders, respectively and also using goblin skin to lighten the berserker red on the shoulders.
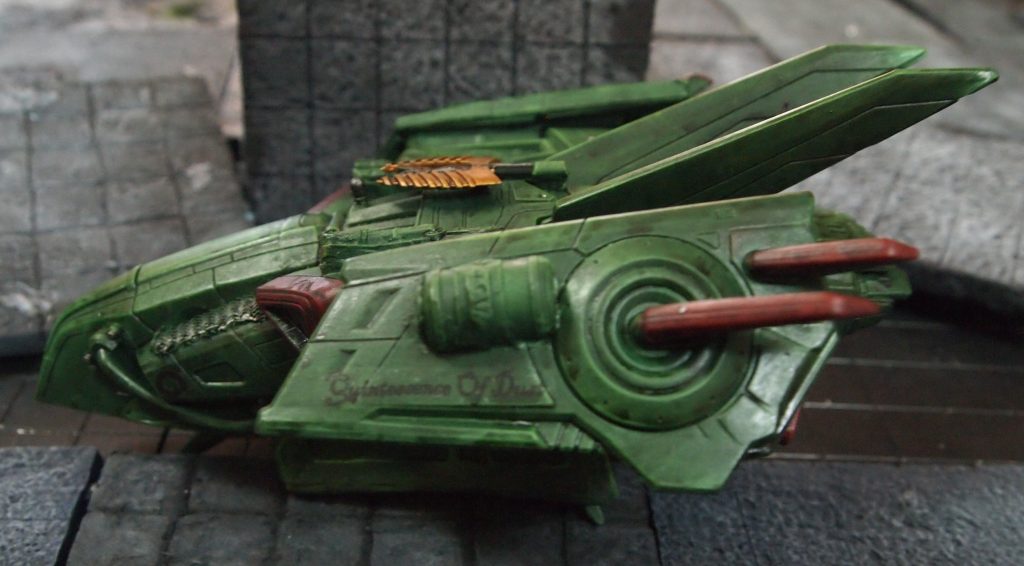
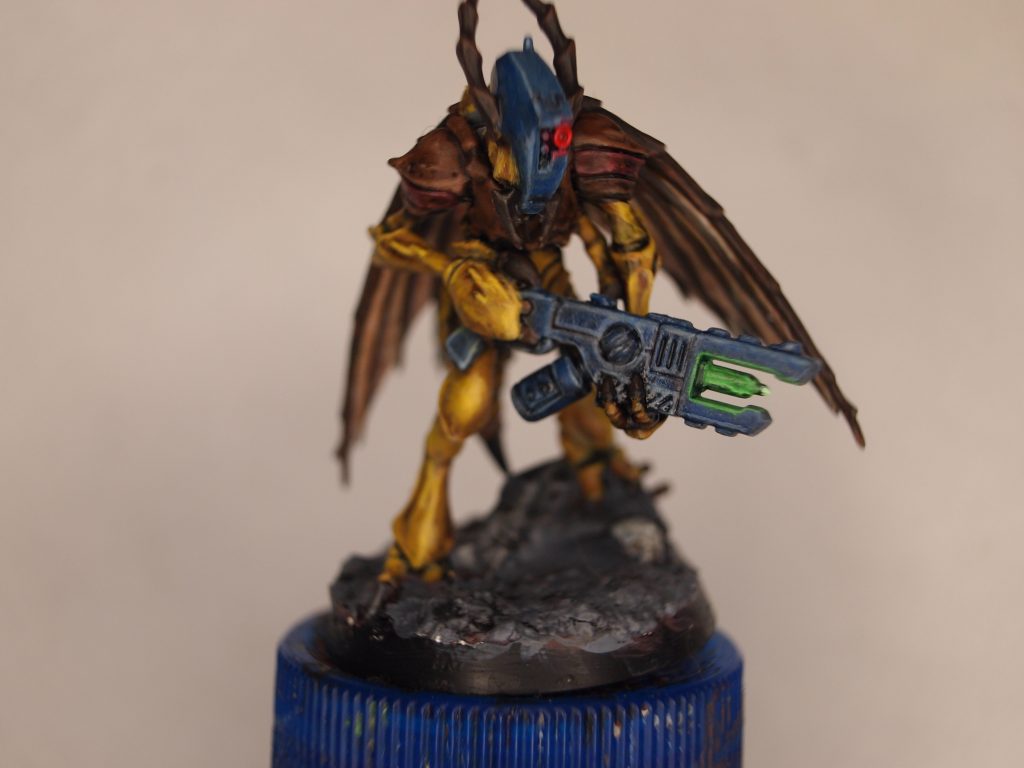
I also added some Army Painter Warpaints Fanatic Deep Grey to the base and the gun ‘spike’. I then washed the spike with thinned white paint before adding a couple of layers of APWP Data System Glow which I aslo added as an edge highlight around the ‘spike’, and added white dot at the tip of the ‘spike’.
The eye ‘lens’ I painted white and then painted over with Green Stuff World Flour – Fluorescent Red

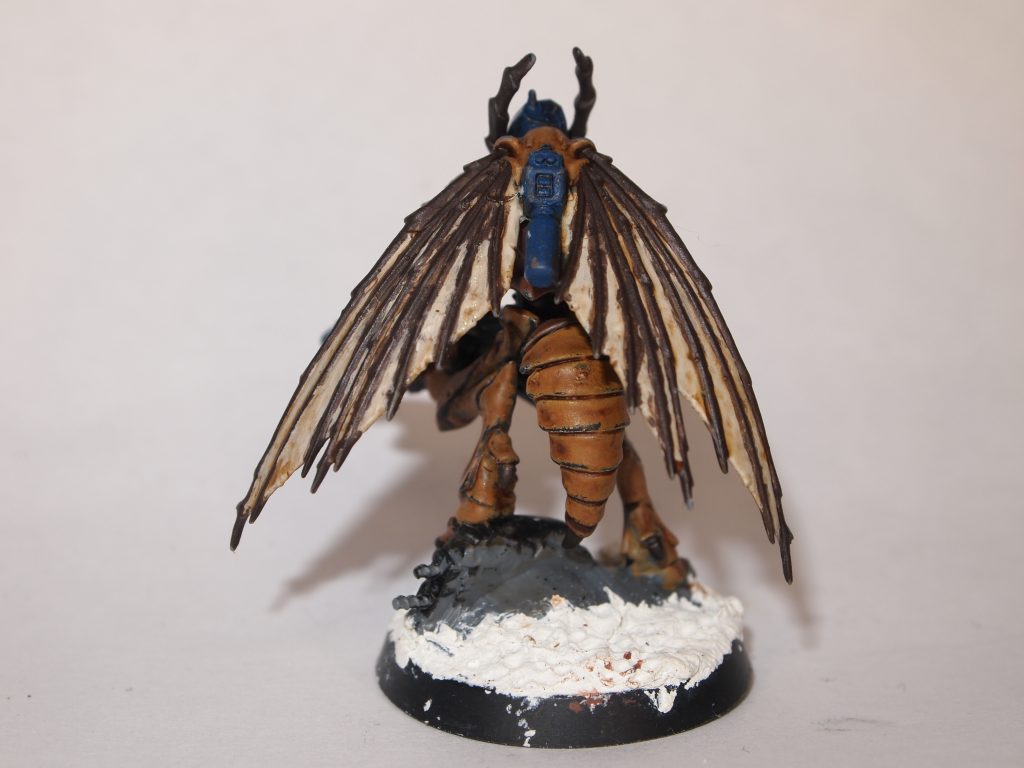
Highlights and Finishing touches
For the highlights it is just a matter of increasing the lightness of the previous mixes and applying in thin areas where the highlights would be, mostly edges.
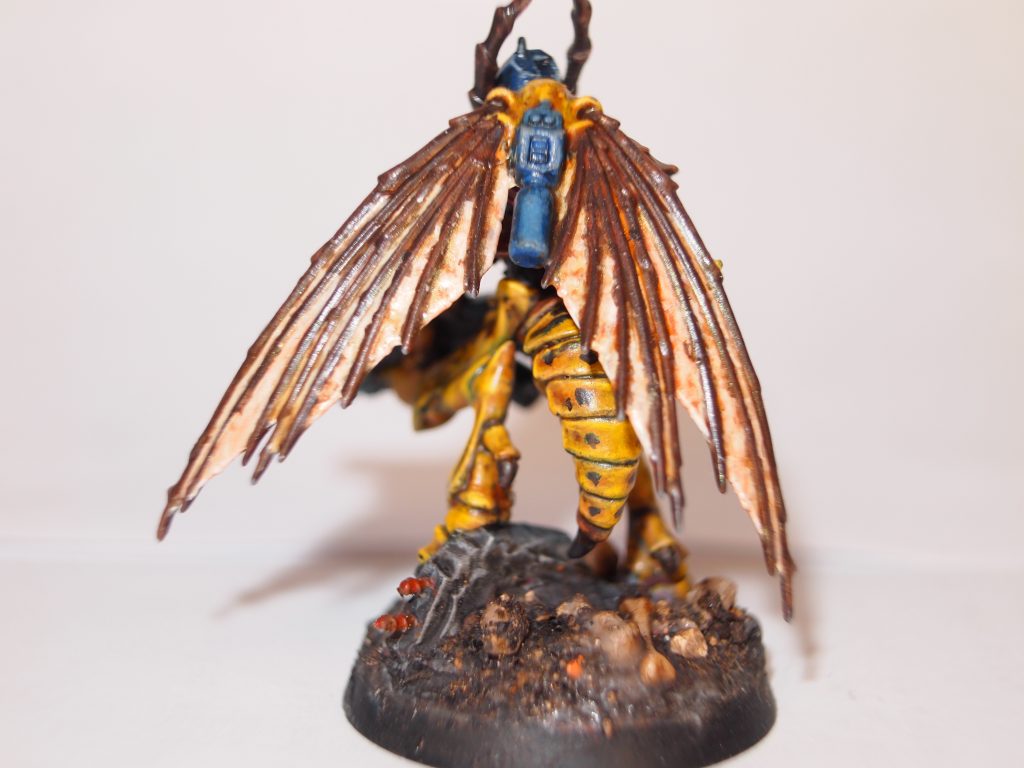
On the base I added some Krautcover Scenics “a tale of Grimdark” which is quite possibly the most popular basing mix ever. I couldn’t find it on their website but you might be able to get it from various online shops, it does have a habit of going out of stock though.
I also painted the rebar poking out of the concrete with a little rust effect and dry brushed white over the grey.
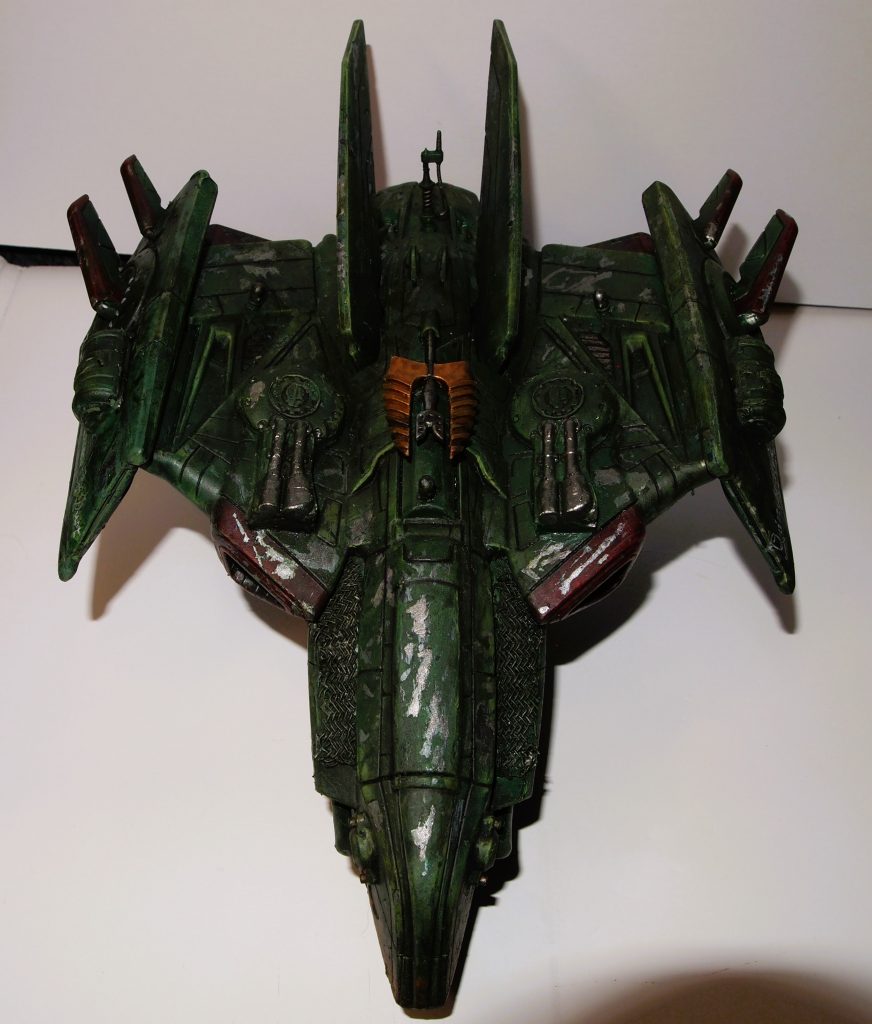
For the wing membranes I used a little Greenstuff World Colorshift metal – Royal Burgandy but it doesn’t really show up in the photos. I used gloss, matt and satin varnish to finish the model.

Overall I’m quite pleased with the paintjob. There are a few areas I think I can work on though. I’ve started to think that I could possibly go further with my highlights on my miniatures and am trying to work this in on any new ones I paint. I tend to look at each mini painted as a learning experience.
Photos – well they are a work in progress. The quality of some of them in this post are not where I would like them to be. I know I need better lighting but it is a dilemma as I don’t want to pay out for expensive equipment as the photography is a small part of my hobby and I’d rather spend money on new minis. I will try to get by with some lights that I plan to buy that are multi purpose. I’m very sceptical about a lot of the pricing of accessories in this hobby and some of the lighting I see advertised I think are way over priced.
Have you painted any Vespid Stingwings? Which colour scheme did you go for? Let me know in the comments.