
This post is a bit out of sequence as I haven’t finished writing my review of Silver Bayonet. This was a fairly quick and basic kit bash but I am very pleased with the result.
The Zombie Head
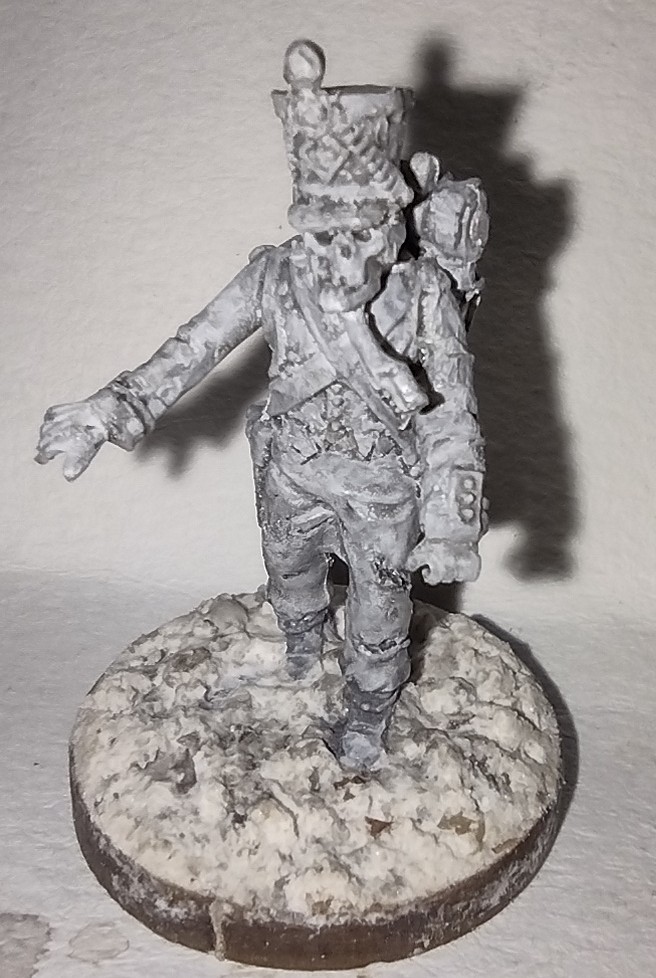
First I took a head from the Victrix French Napoleonic Infantry 1807 – 1812 box and cut away the majority of the face. Then I took a skull from the Citadel Skulls box, a worthwhile purchase that is incredibly useful.
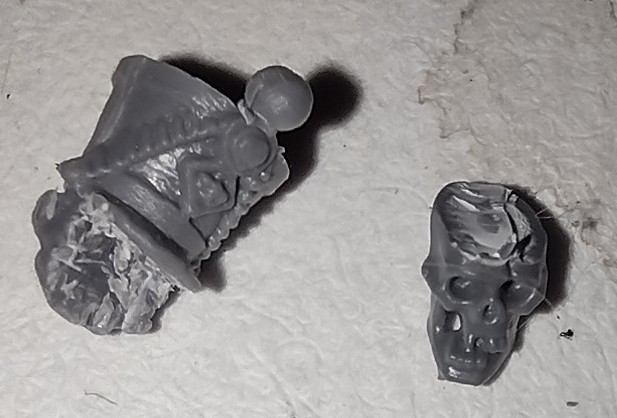
It took a couple of tries to get them to fit together well and it pays to be cautious with the removal of plastic, a little at a time.
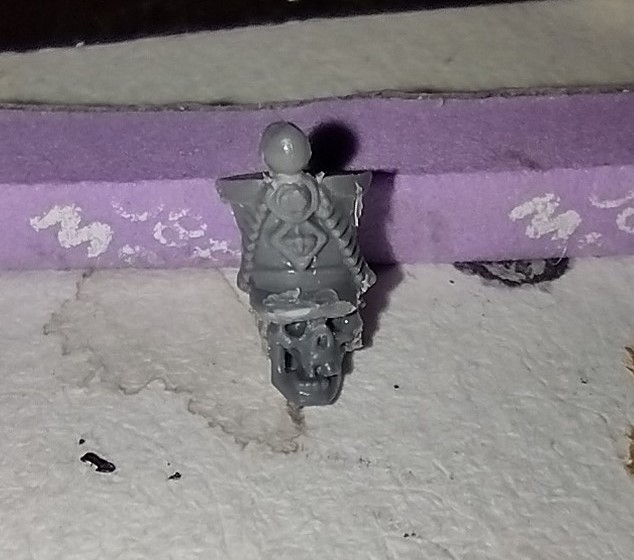
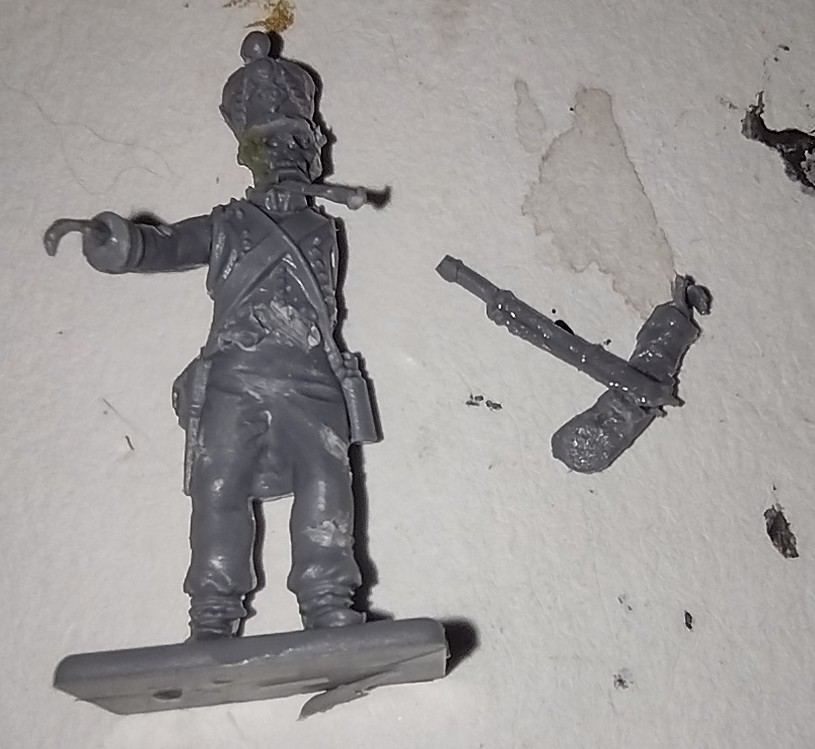
Next I added the head to a body and gouged some rips in the trousers, first making a shallow cut and then using the tip of the scalpel blade to lever the plastic out a little, then cutting some nicks into the edge of the ‘rip’. I also added some more ‘rips’ to the waistcoat. I added a right arm that had an open hand and for the left arm cut away a rifle that was held in the hand. The bayonet from the rifle I cut off and stuck in the neck under the skull. The left arm was crooked so I cut in at the elbow joint and opened it up, using the rifle to partly fill in and support the gap.
I then trimmed off the excess bits of rifle and used some sprue goo to smooth out the join in the arm. I also used some Green Stuff World Green Putty – Acrylic Modelling Filler to tidy up the join between the skull and infantry head. I prefer this putty for gap filling and small jobs. I’ve not had much luck with liquid green stuff from GW as the pots dry out really quickly and I end up throwing away about 90% of the pot.
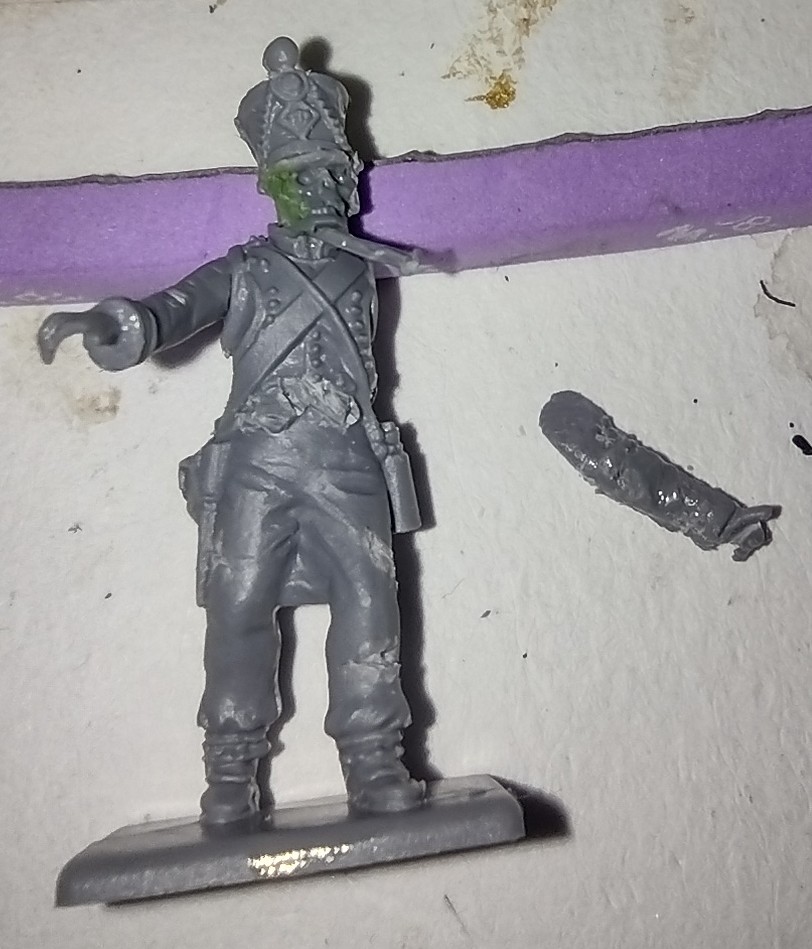
When the sprue goo had set I attached the arm and when the glue had set primed the mini and added a thinned down black wash. I then added a base and my go to basing mix of sand, all purpose filler (known as spackle in the US) and basing gravel. I also cut the right foot from the base and give it a twist to look like the classic zombie foot drag inspired by Peachy’s The Silver Bayonet review which has an excellent kitbash idea for making some zombies similar to this (round about the 23:49 mark).
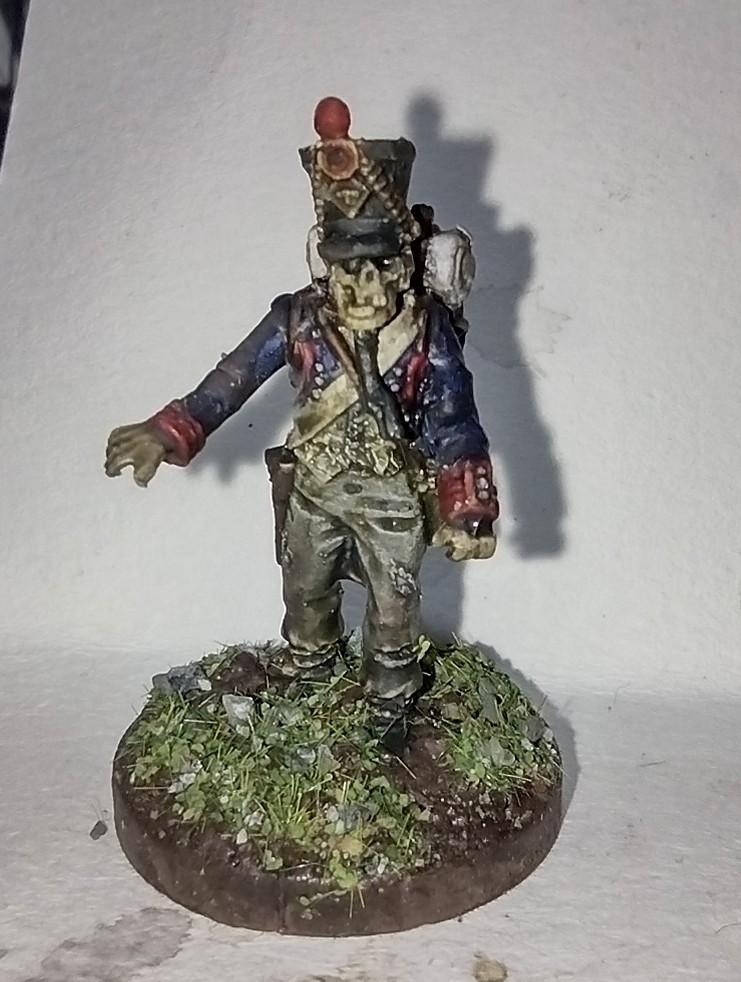
With all that dried I gave the mini a final drybrush of grey all over then a zenithal white dry brush before painting with Army Painter Speed Paint 2.0. Then an all over wash with a mixture of Two Thin Coats Necrosis Green and black Vallejo Game Wash Dipping formula, which I think has been discontinued but you may be able to find it. I bought it as it was a big 200ml pot for a reasonable price. I go through so much black wash that buying in the small bottles is expensive. Then added my basing mix; Games workshop static grass, Geek Gaming Scenics Foam scatter – Mid green I think, Some old GW gravel, sand (I bought a bag of ‘play pit’ sand years ago for topping off cactus pots – more sand than I will ever possible use) and some tarragon, it was Greig Johnson in one of his marvellous make videos who mentioned using dried herbs and I have had a jar of tarragon for possibly over 25 years and I don’t like tarragon for some reason. It won’t win a Golden Demon but I hope that if there was a ‘Manky Demon Award’ that I’d at least get into the second round. Looking at it now I might add a bit of gloss varnish in places on the muddy bits of the base to make it look sticky.
Leave a Reply